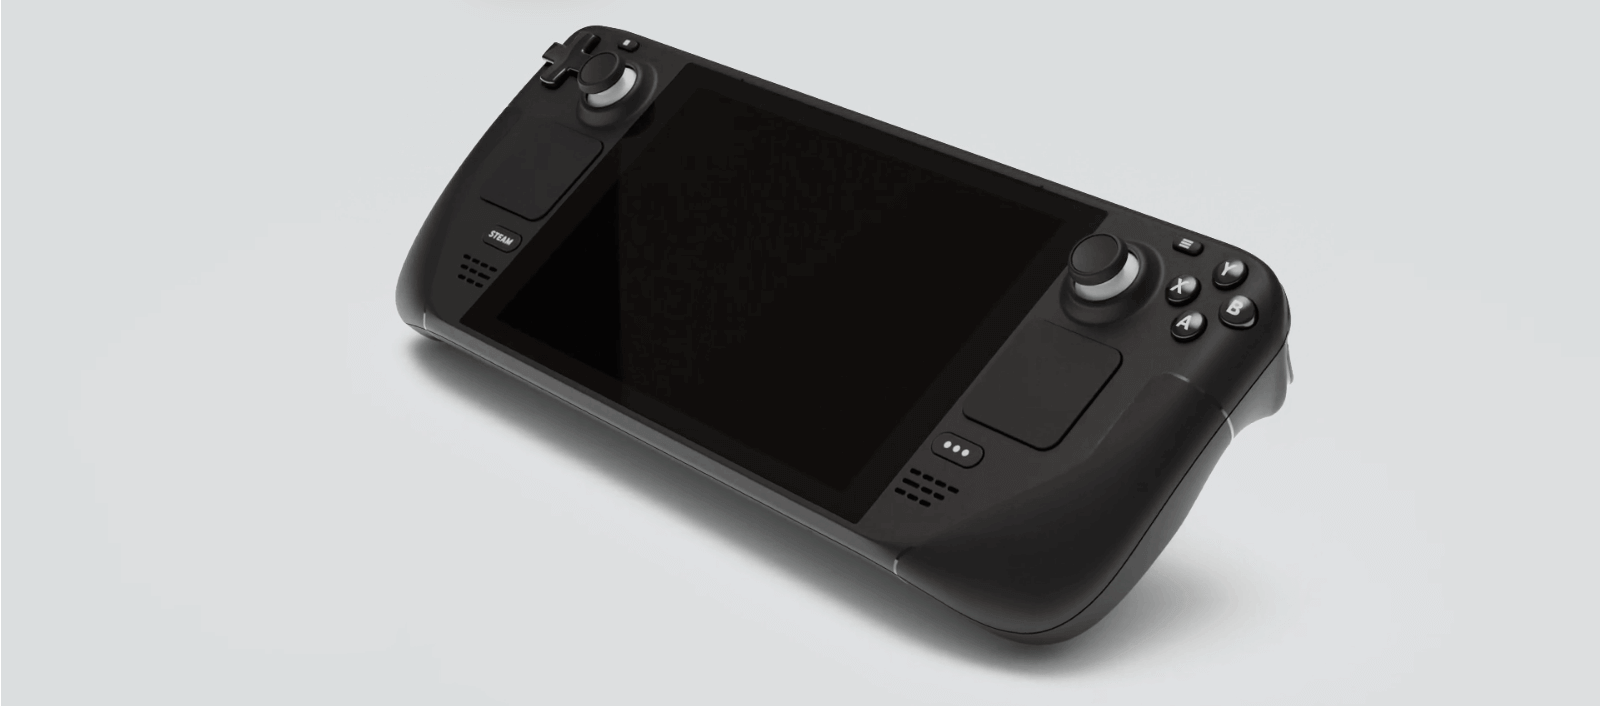
We know that the Steam Deck doesn’t have the best display. It is decent, but it definitely leaves more to be desired. And yes, we get it; it was a good trade-off to keep costs down and be the value champ. Steam Deck, AKA a portable PC, has some tricks up its sleeves to make the display look much better.
Follow these Steps:
We recommend a mouse and keyboard for this (it’s not a necessity, but it does make things easier)


- Switch to Desktop Mode on your Steam Deck.
- On your web browser, go to https://github.com/SteamDeckHomebrew/decky-loader
- Click or tap on “Download”.

- Go to the folder where the file is downloaded and double-click on it to install.
- You’ll get a choice to select which version to install – we recommend you select the release (stable) version.
- After the installation, get out of desktop mode and return to gaming mode.
- Once you’re in gaming mode, you need to press the button with three dots (under the right trackpad). You will see the plugin icon at the bottom left of the slider menu. Tap on it.

- After that, you’ll see a store icon on the top right. Click or tap on that.

- Once you’re in the store, type in the search bar “vibrantdeck” and click or tap install.
- After it’s installed, please press the button with three dots (under the right trackpad) and tap or click on the plugin icon, as we showed in the second image. You will see the vibrantDeck plugin. Make sure you enable color settings. Tap on it, and you will see a saturation bar. The default saturation is 100. Increase it to your liking. We recommend increasing it to 150 but to each their own.
That’s it. Happy gaming. You’re welcome.