NVIDIA’s DLSS upscaling technology is one of its primary selling points, especially when it comes to ray-traced games. In fact, in most games with RT, it’s not possible to get decent playable frame rates without enabling DLSS at 4K. This leaves AMD users in an awkward situation as they don’t have a viable alternative, just yet (soon). In this post, we look at the latest implementation of DLSS (version 2.1) in Metro Exodus Enhanced Edition and see if it actually beats the corresponding native resolution in terms of sharpness and quality. We’ll also have a look at the Variable Rate Shading implementation, and chart out its impact on visual fidelity and performance. Lastly, the overall impact of the different ray-tracing presets on quality and performance will also be analyzed.
NVIDIA DLSS 2.1 vs Native Resolution: Is There a Difference?
When Metro Exodus first launched, it featured the original implementation of DLSS which was far from perfect. It muddied the textures, resulting in a noticeable loss of quality, and in some cases was on par with the next lower resolution. You can see those comparisons in 4K here. The Enhanced Edition uses the latest version (1.4) and is supposed to be a big step up from its predecessor. For the technical info, click here.
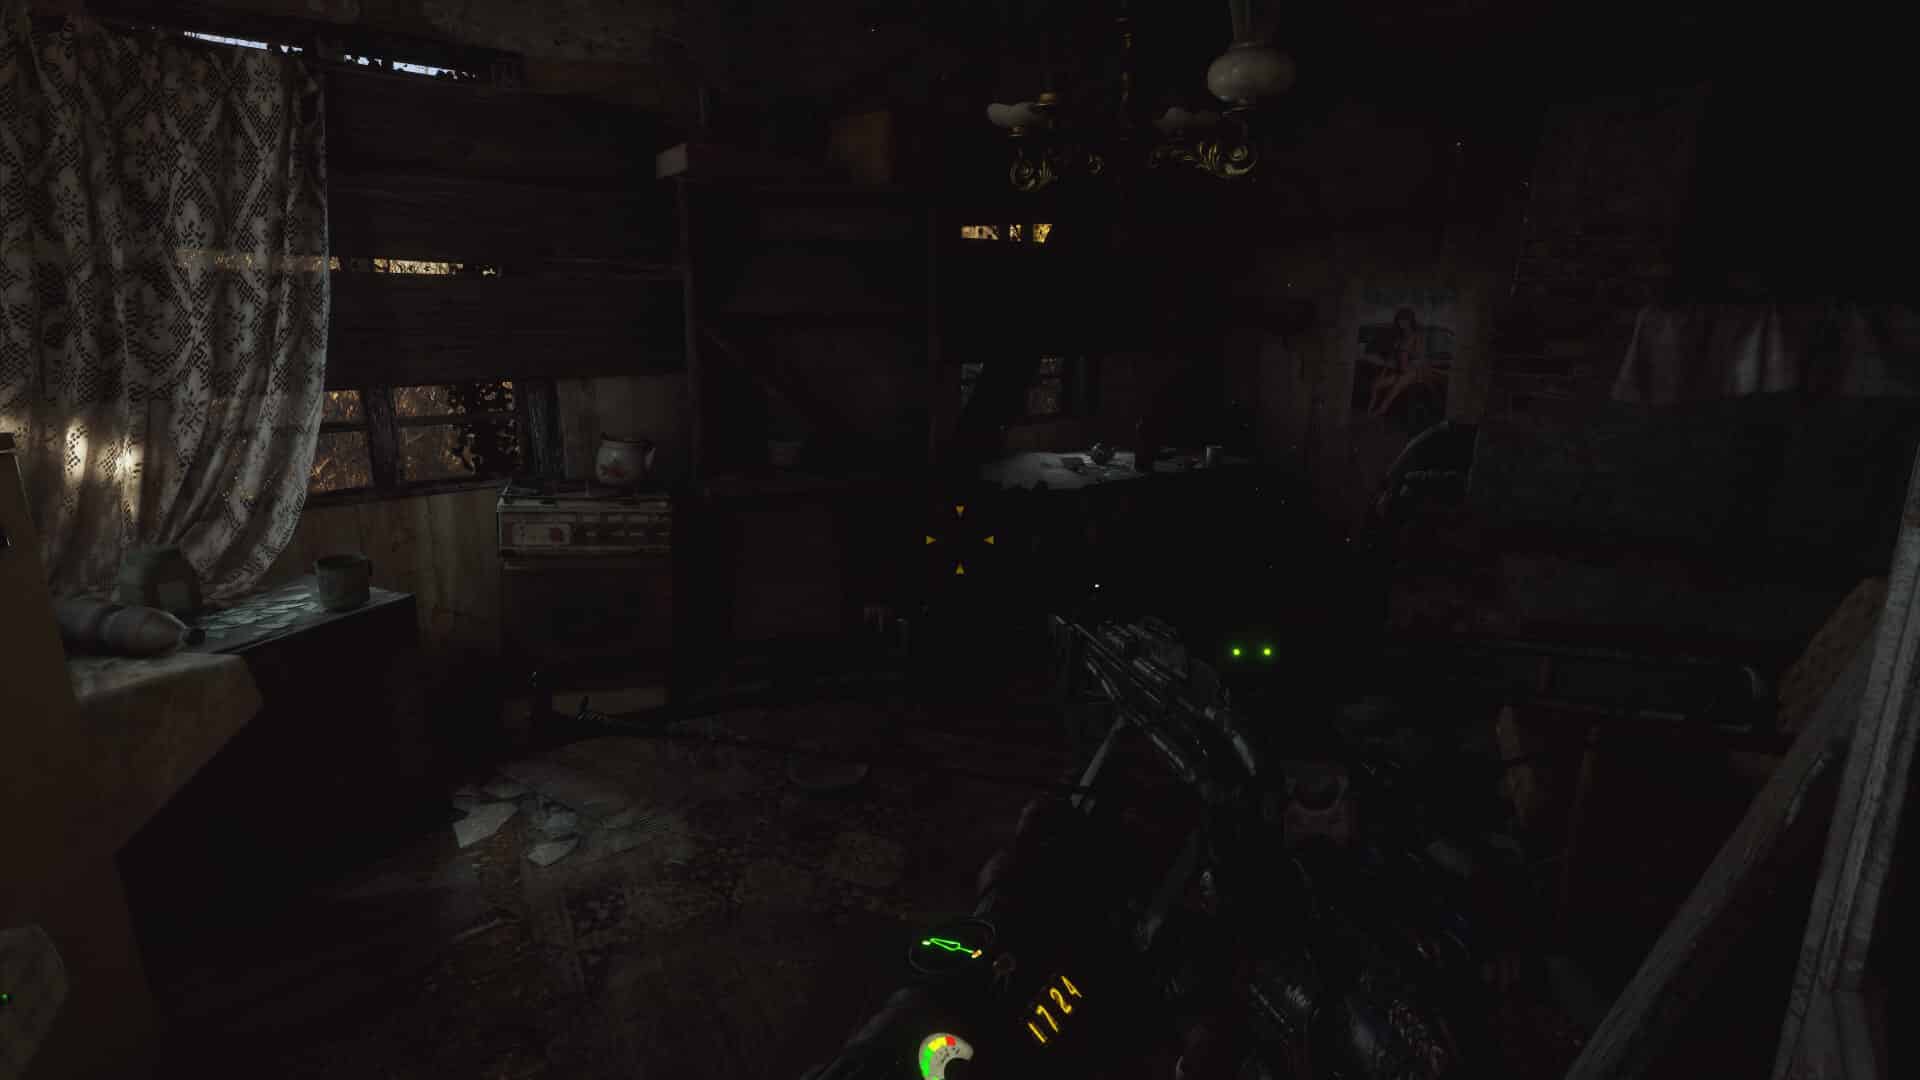
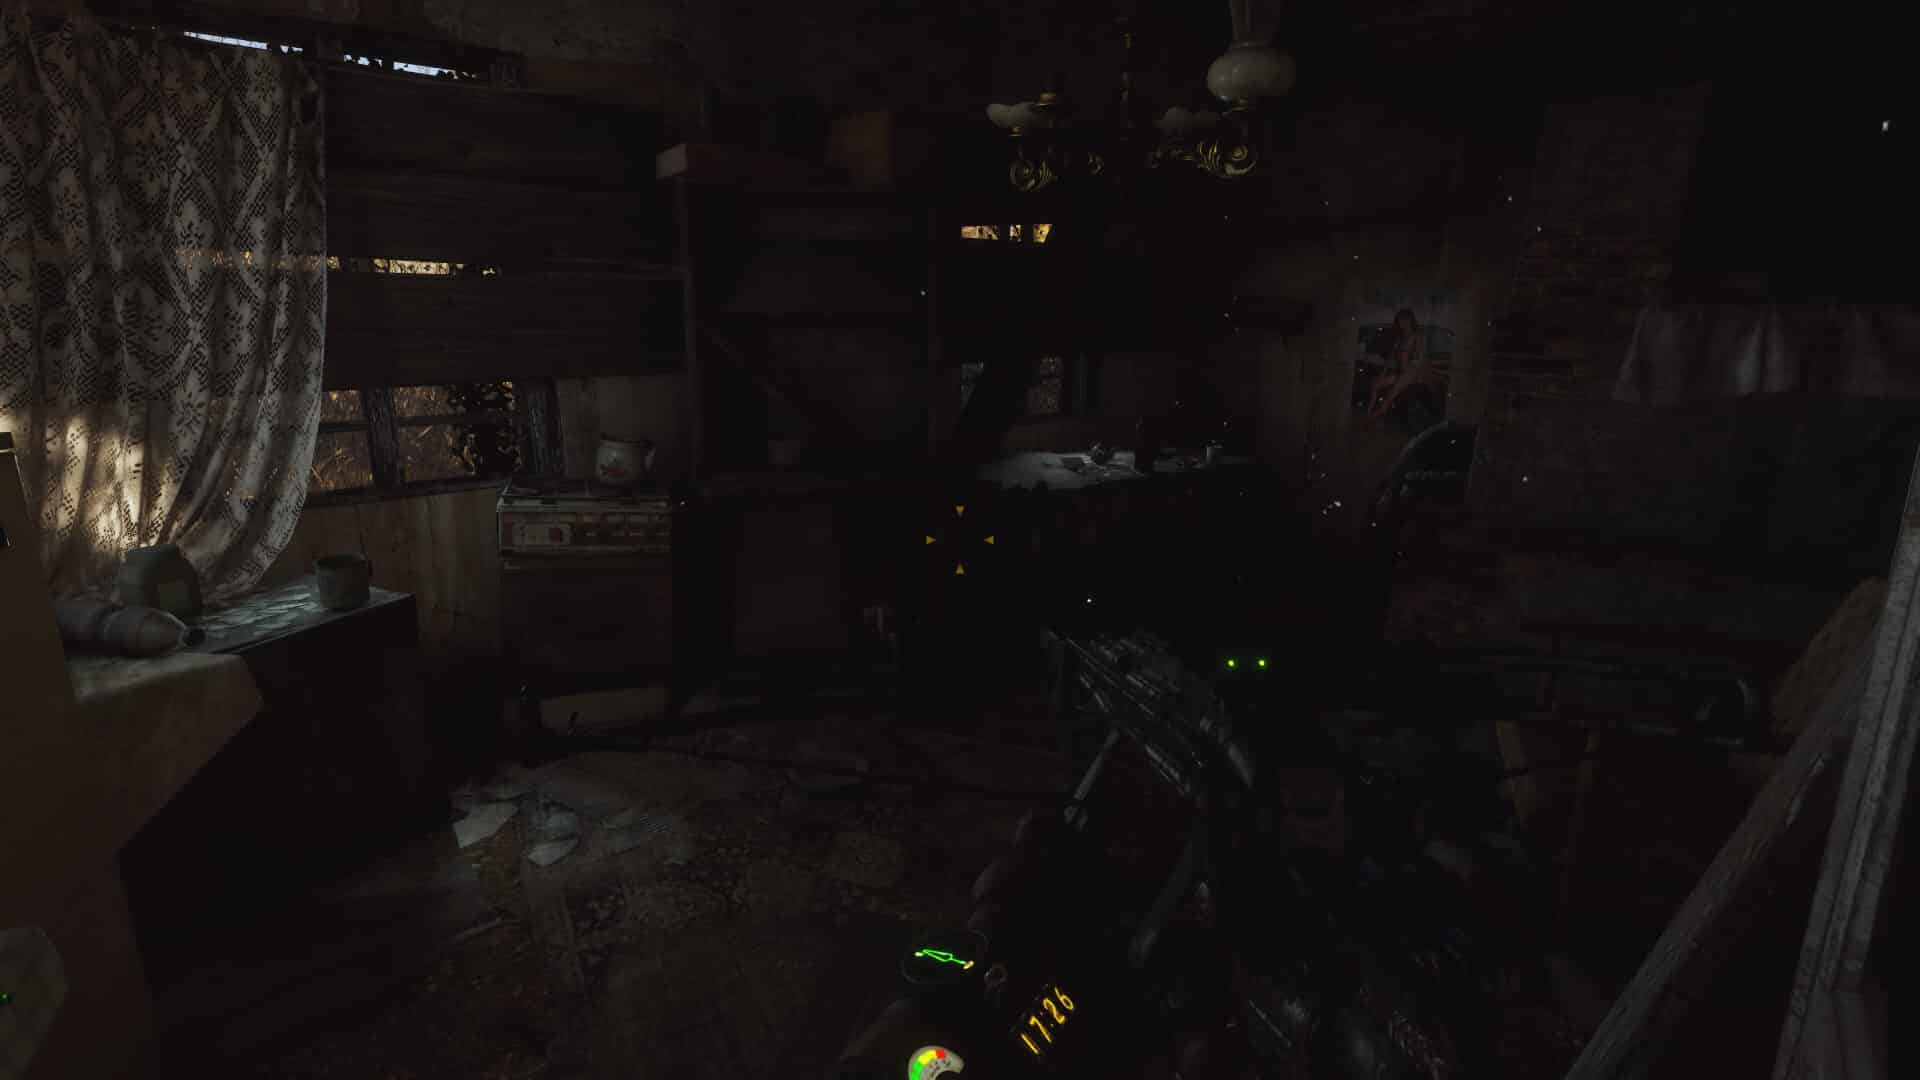
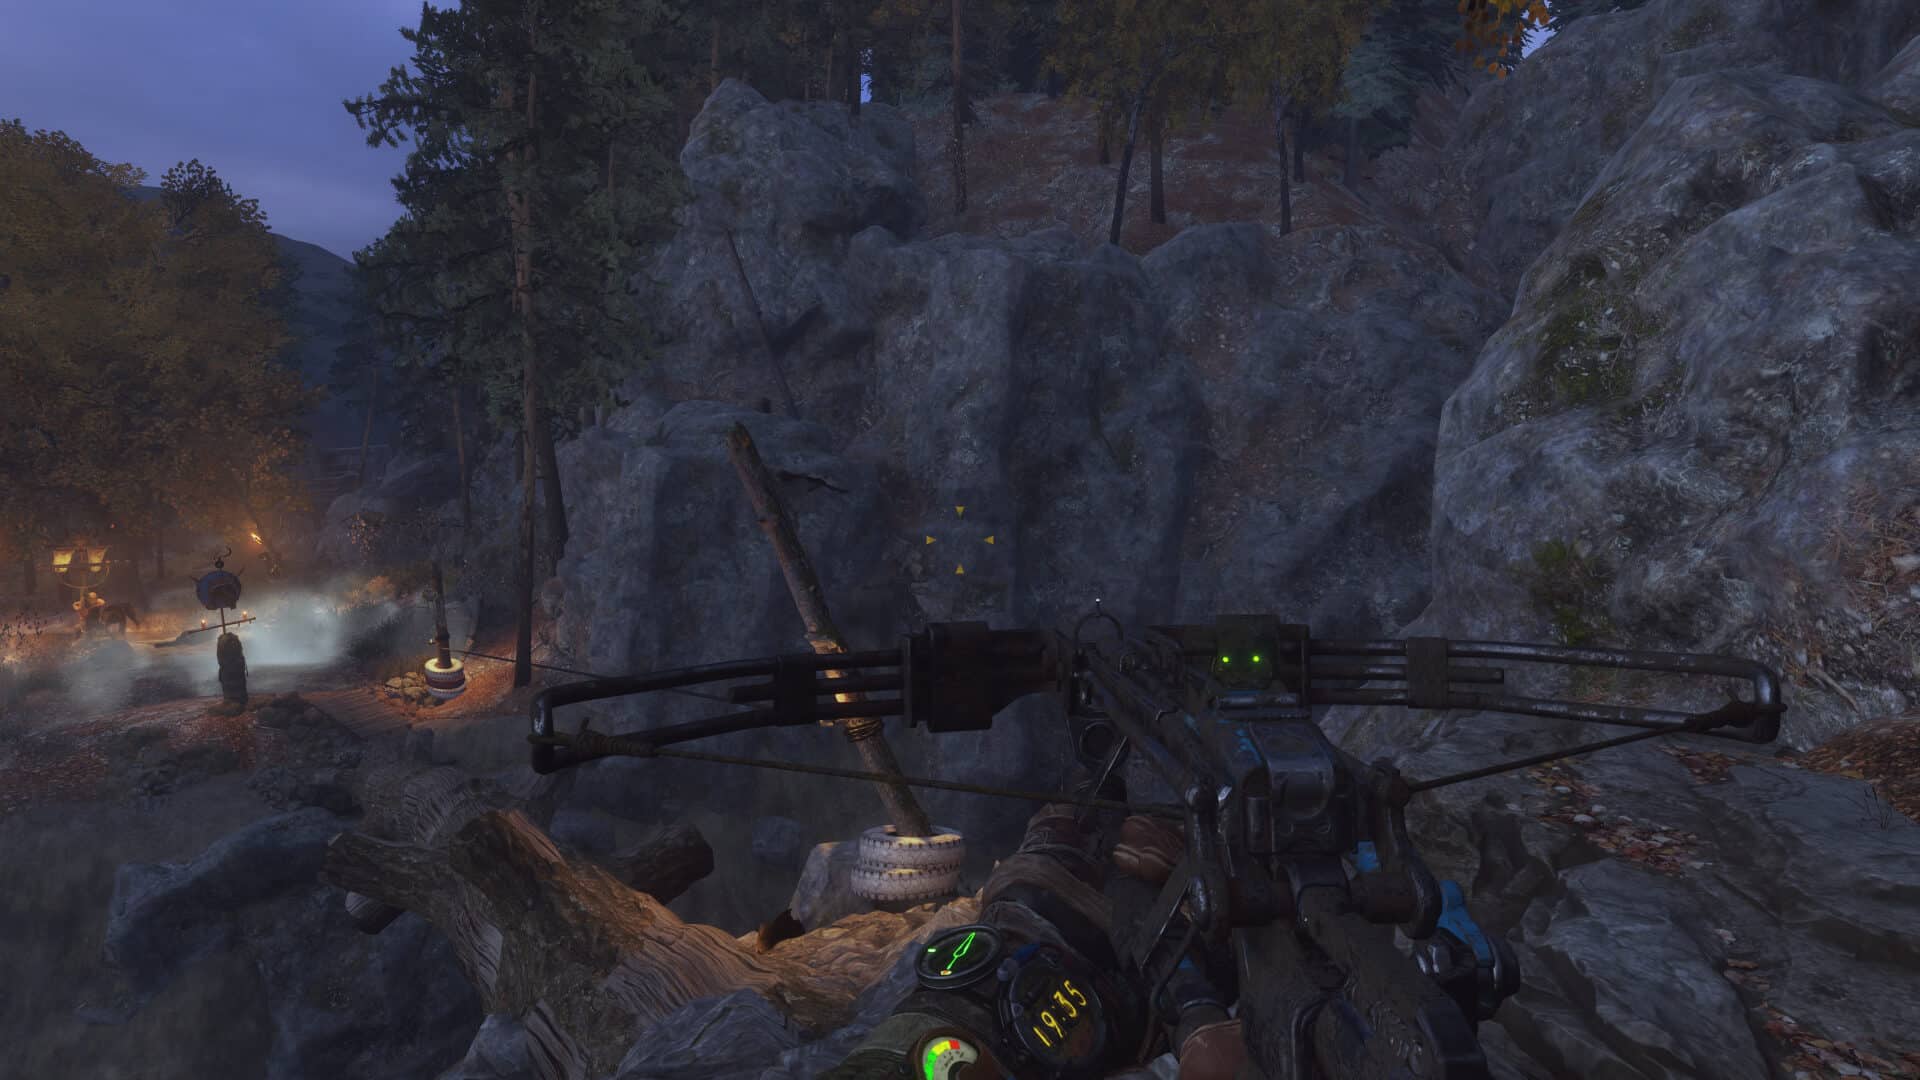
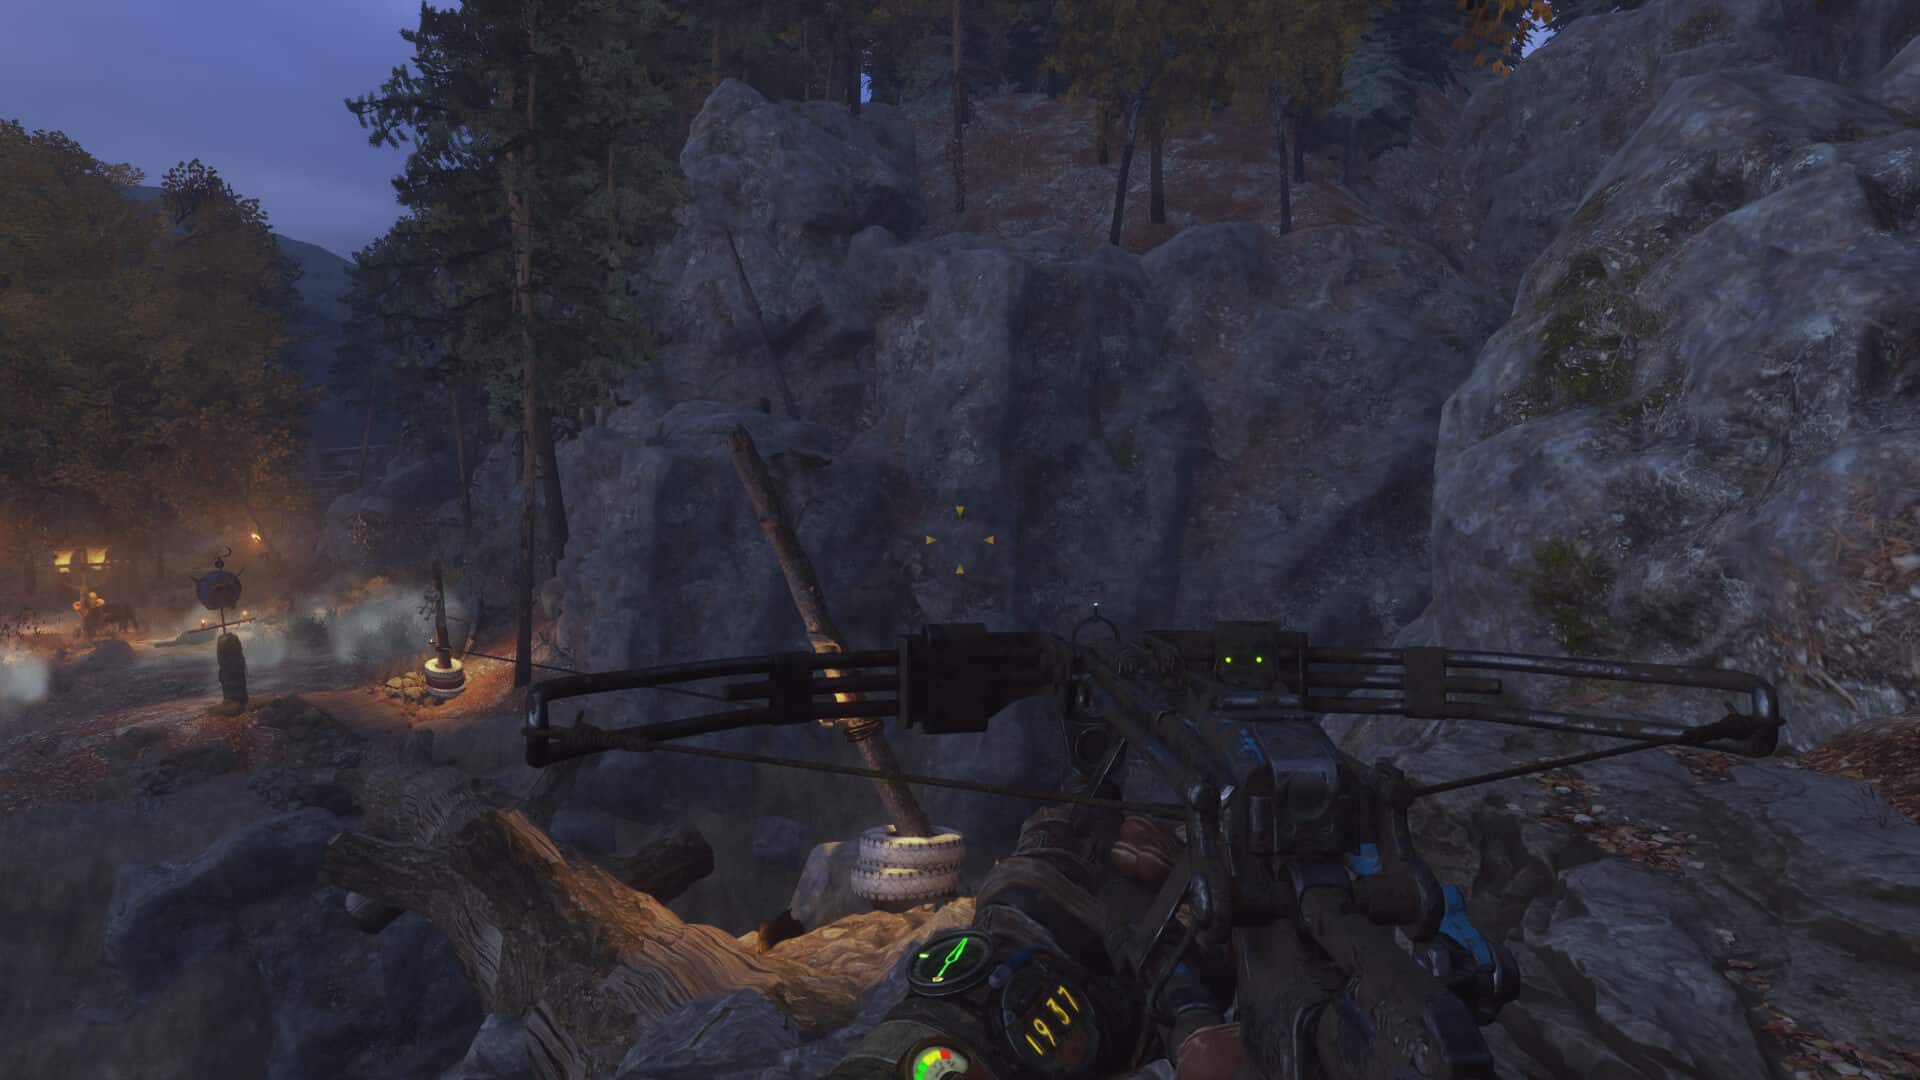
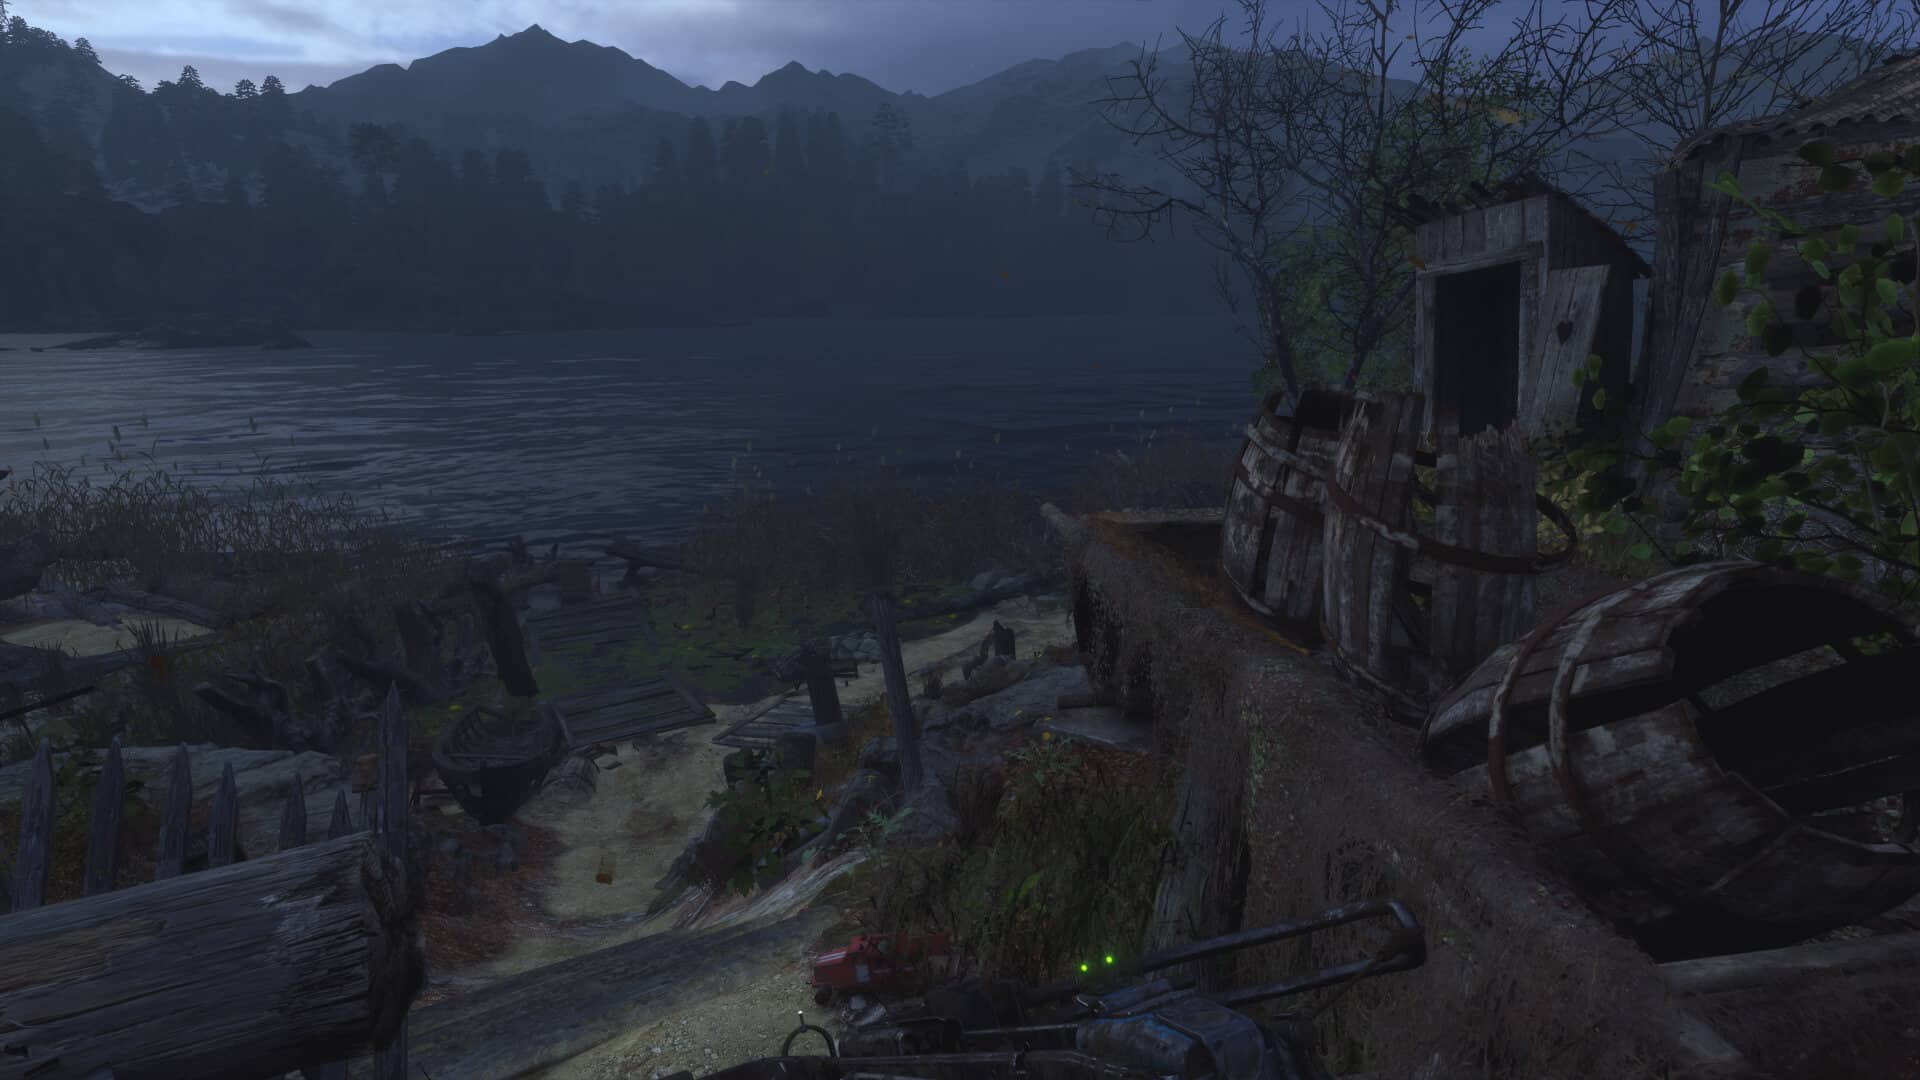
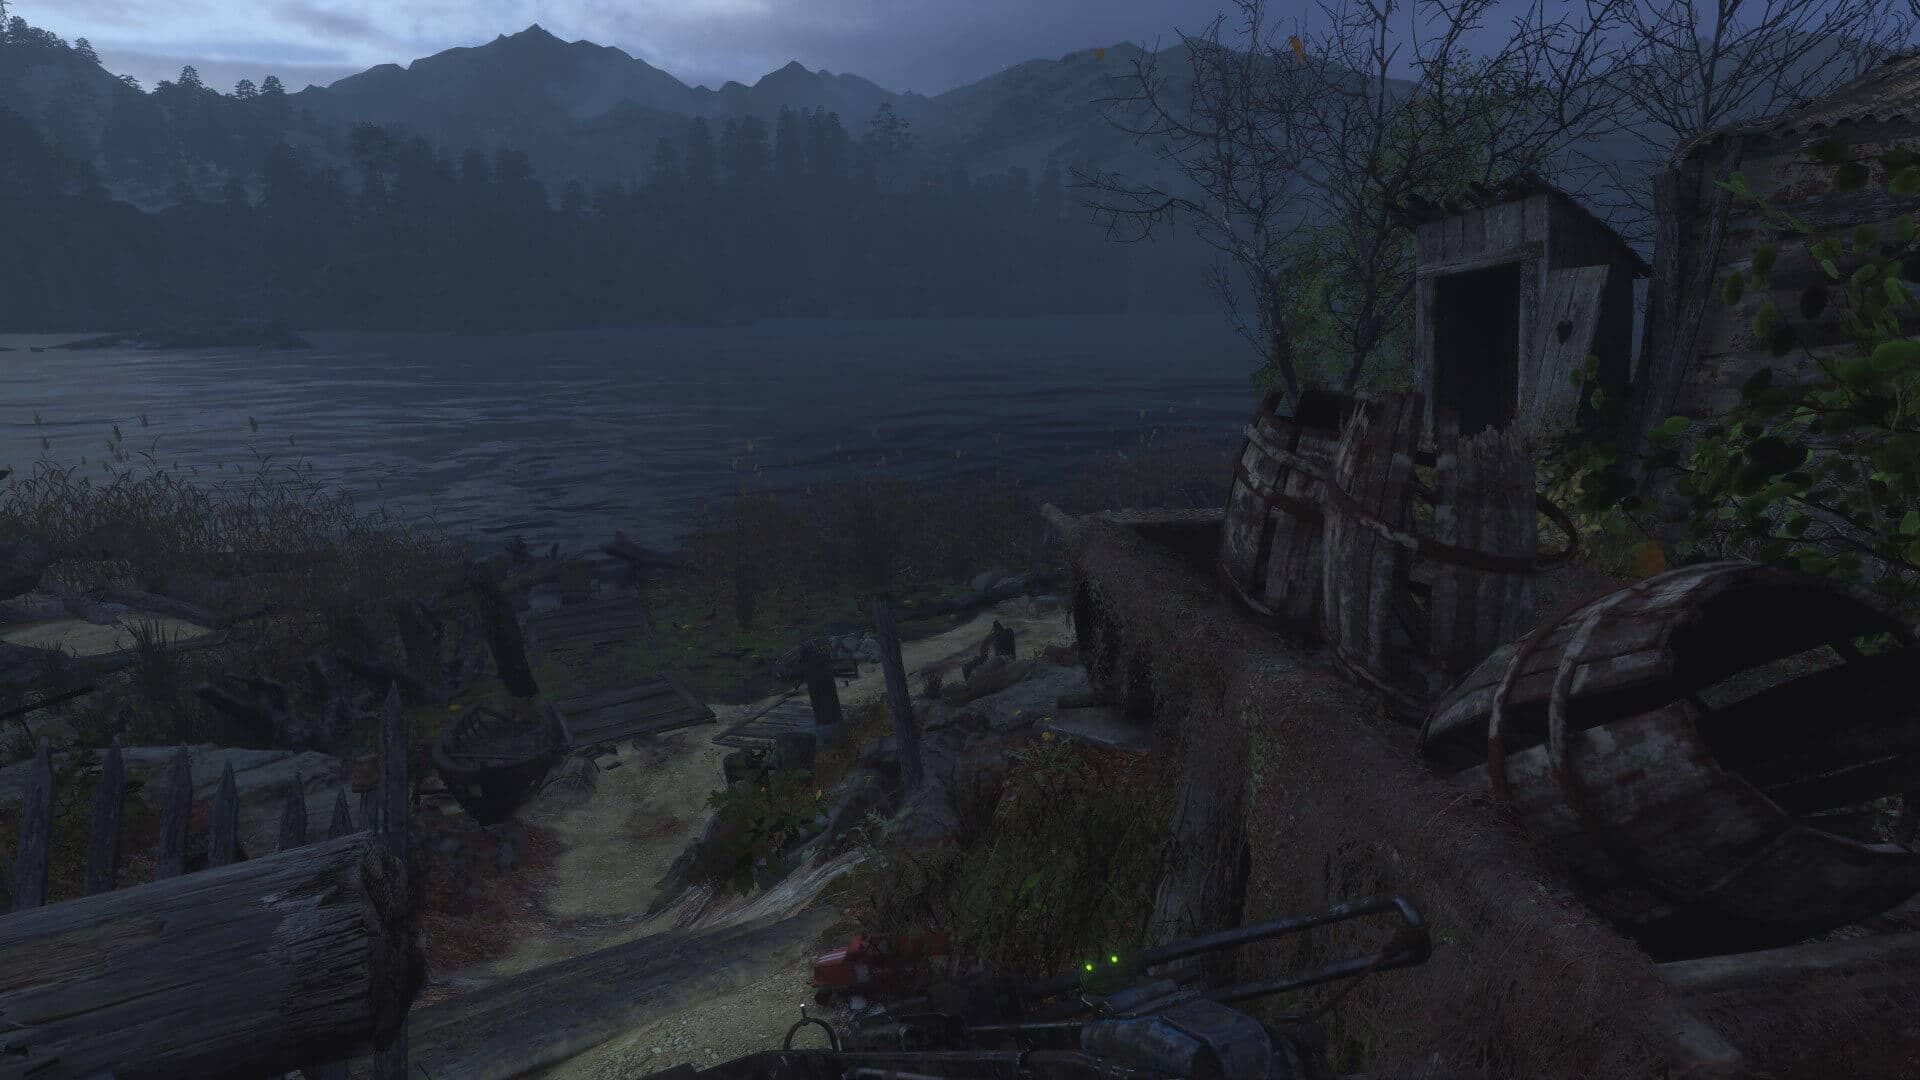
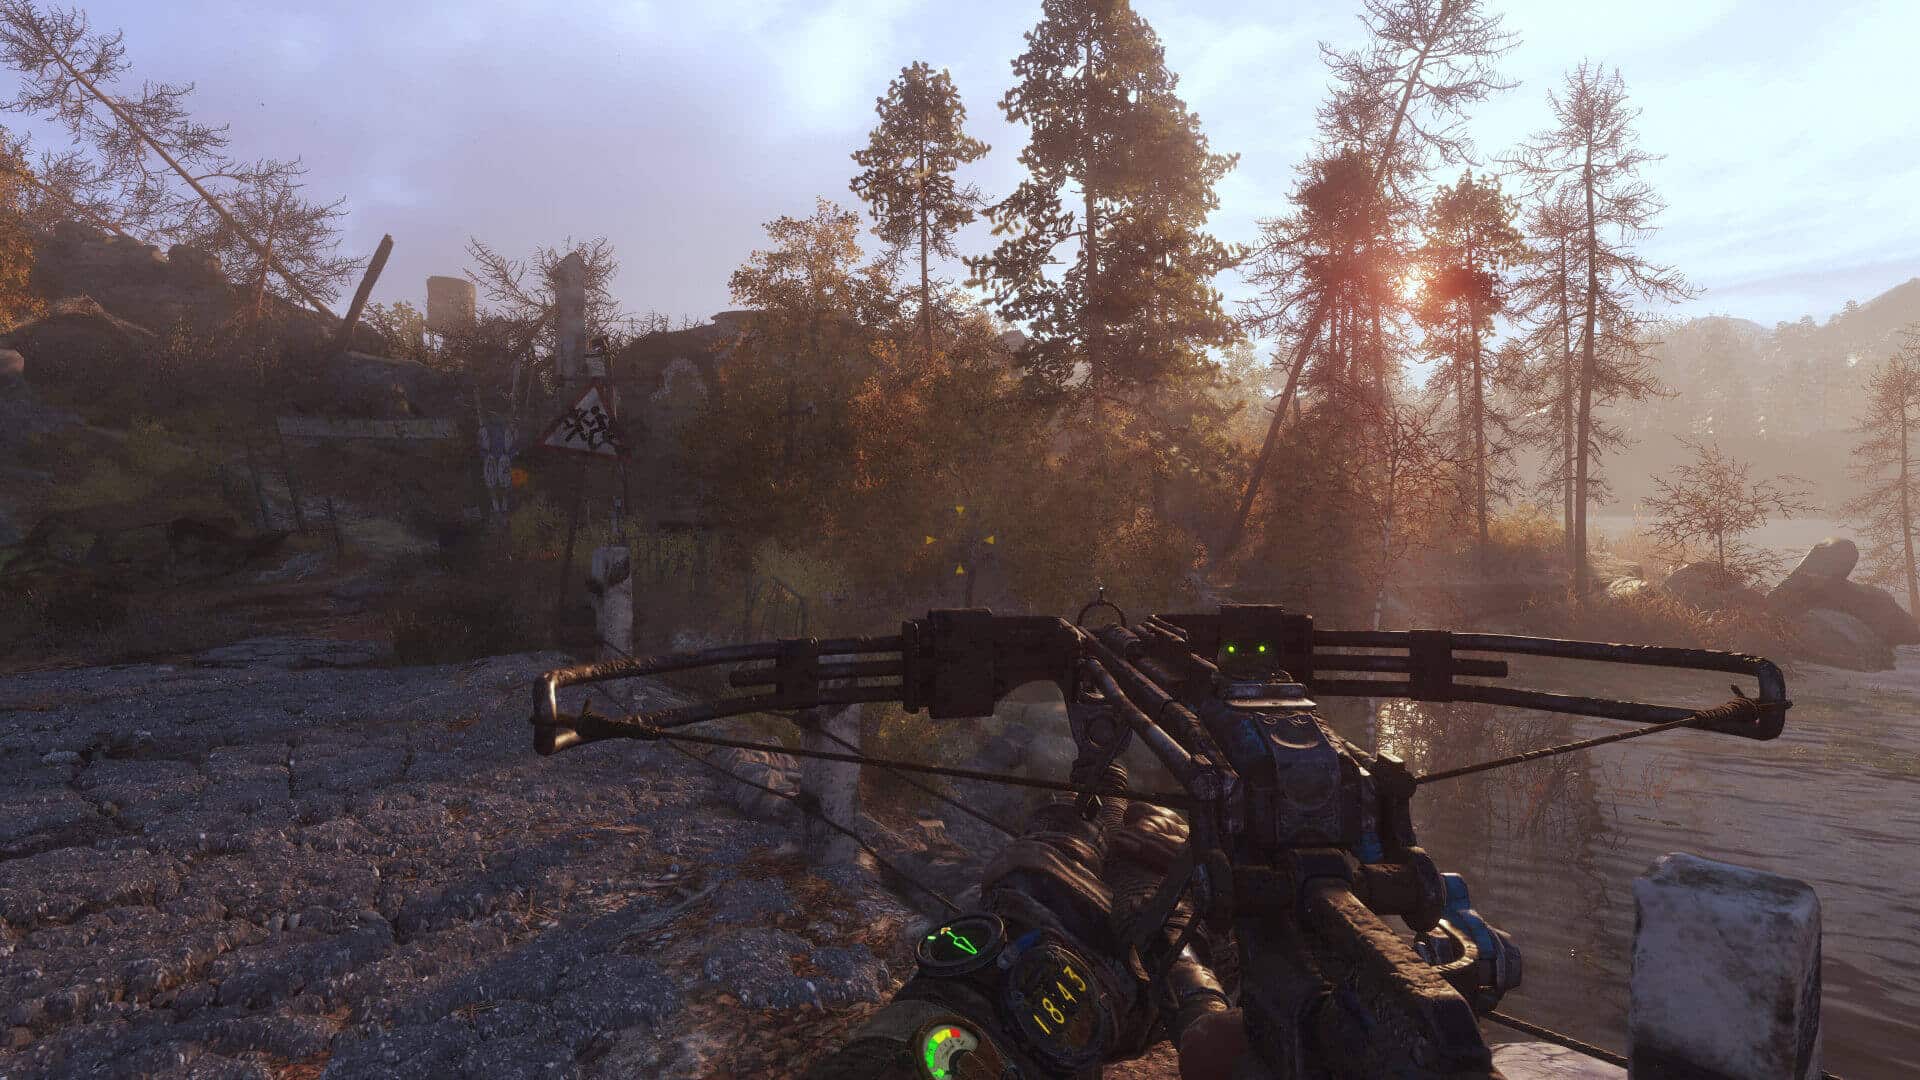
When comparing upscaling algorithms and anti-aliasing techniques, it’s a good idea to consider a scene with a view of both distant and nearby objects as the former are often more adversely affected by certain algorithms. At higher resolutions, TAA and FXAA may also blur nearby textures by applying a blur to them. Here’s an example:
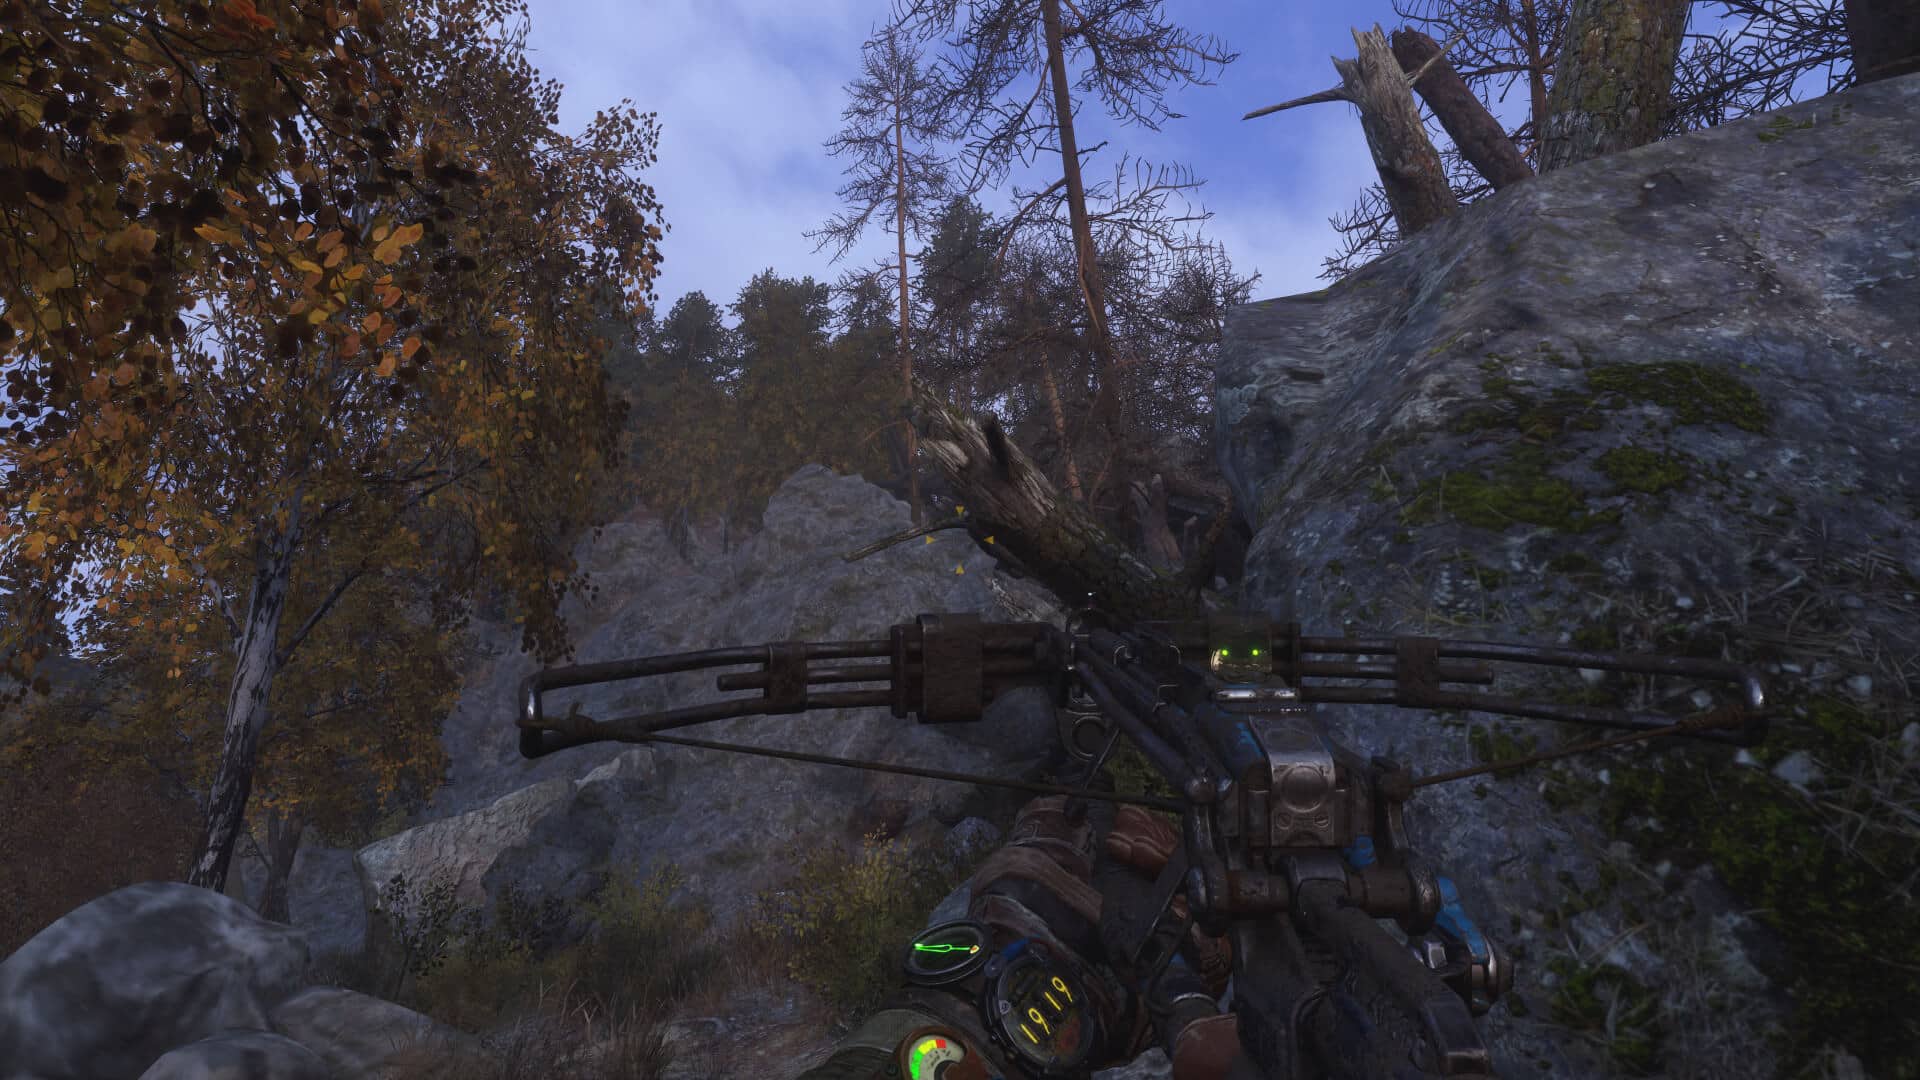
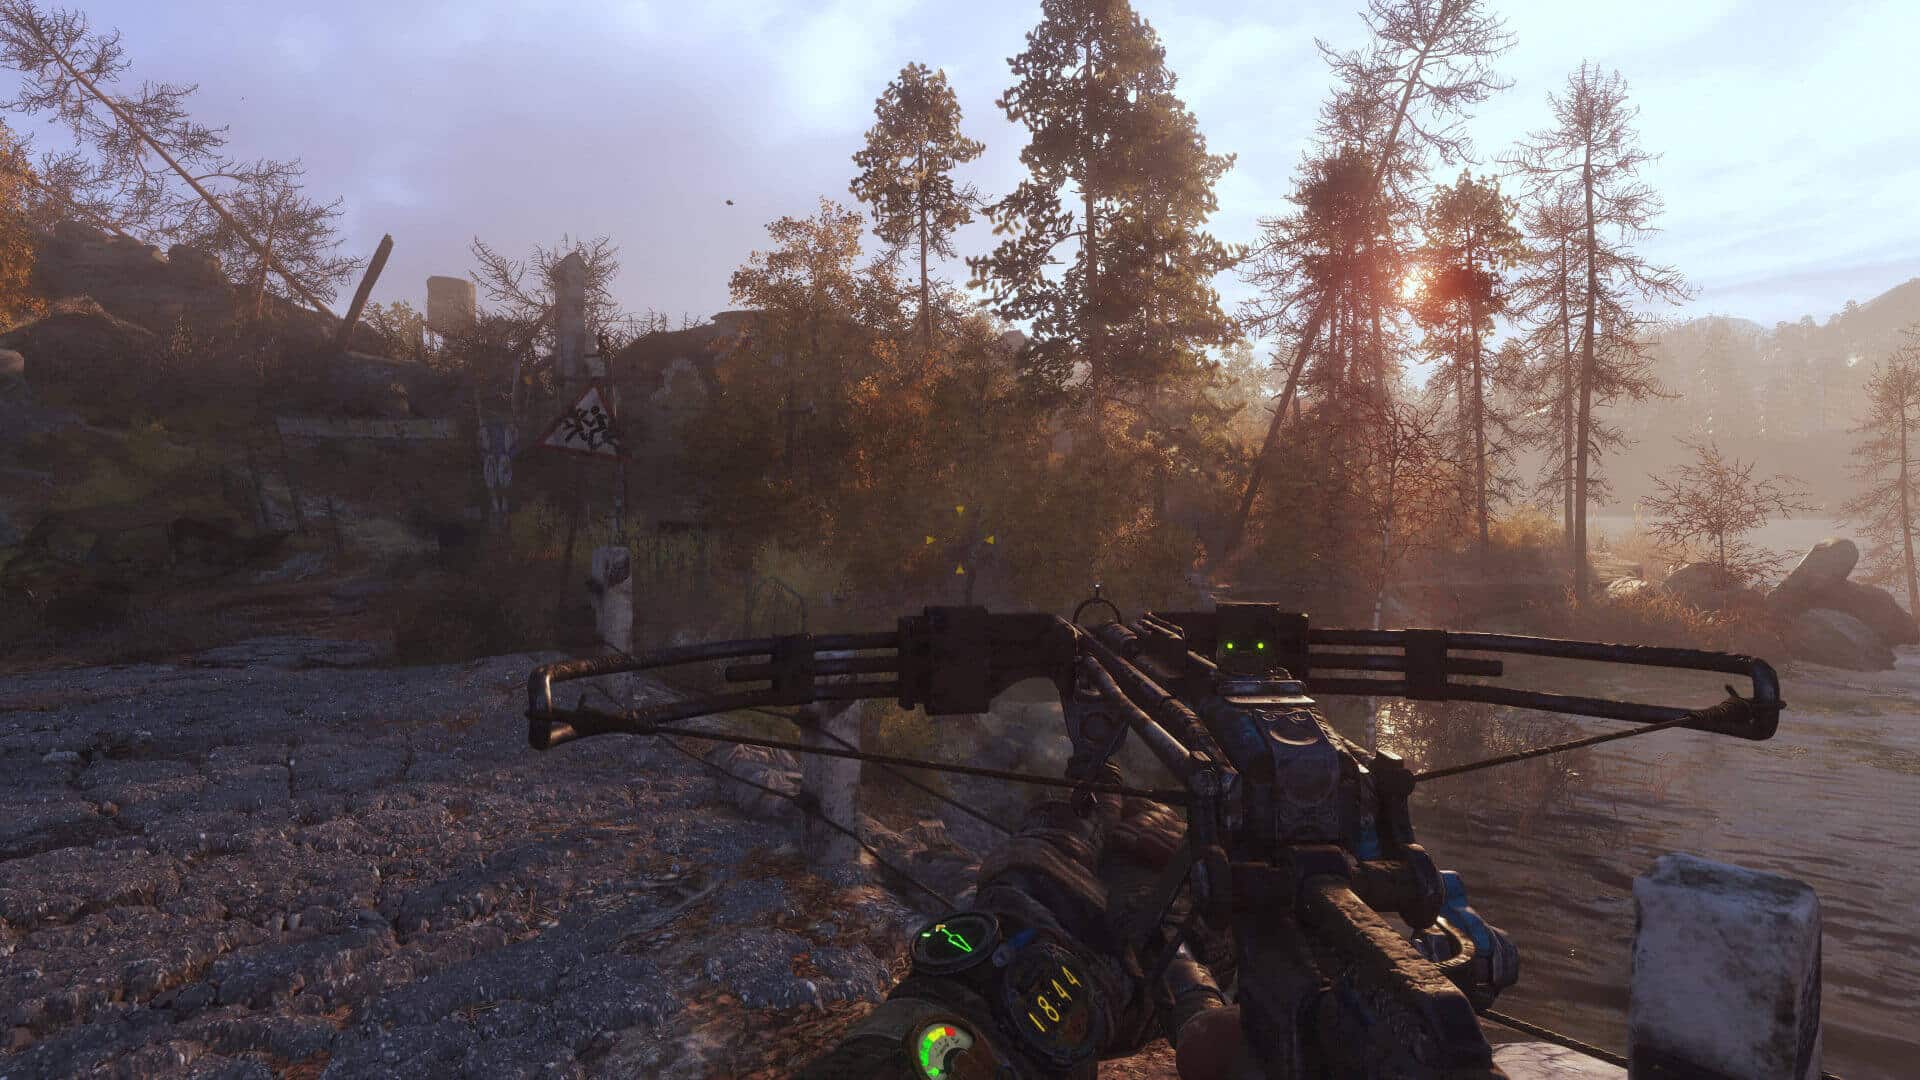
In the above comparison, there’s a subtle but fairly noticeable loss in detail upon going from native to DLSS balanced. The rock textures are blurrier and so are the character’s gloves and watch strap. The same can be observed with the vegetation and the thin tree branches in the distance, but it’s less pronounced. In case you’re curious about the DLSS quality, performance, and ultra-performance preset, here you go:

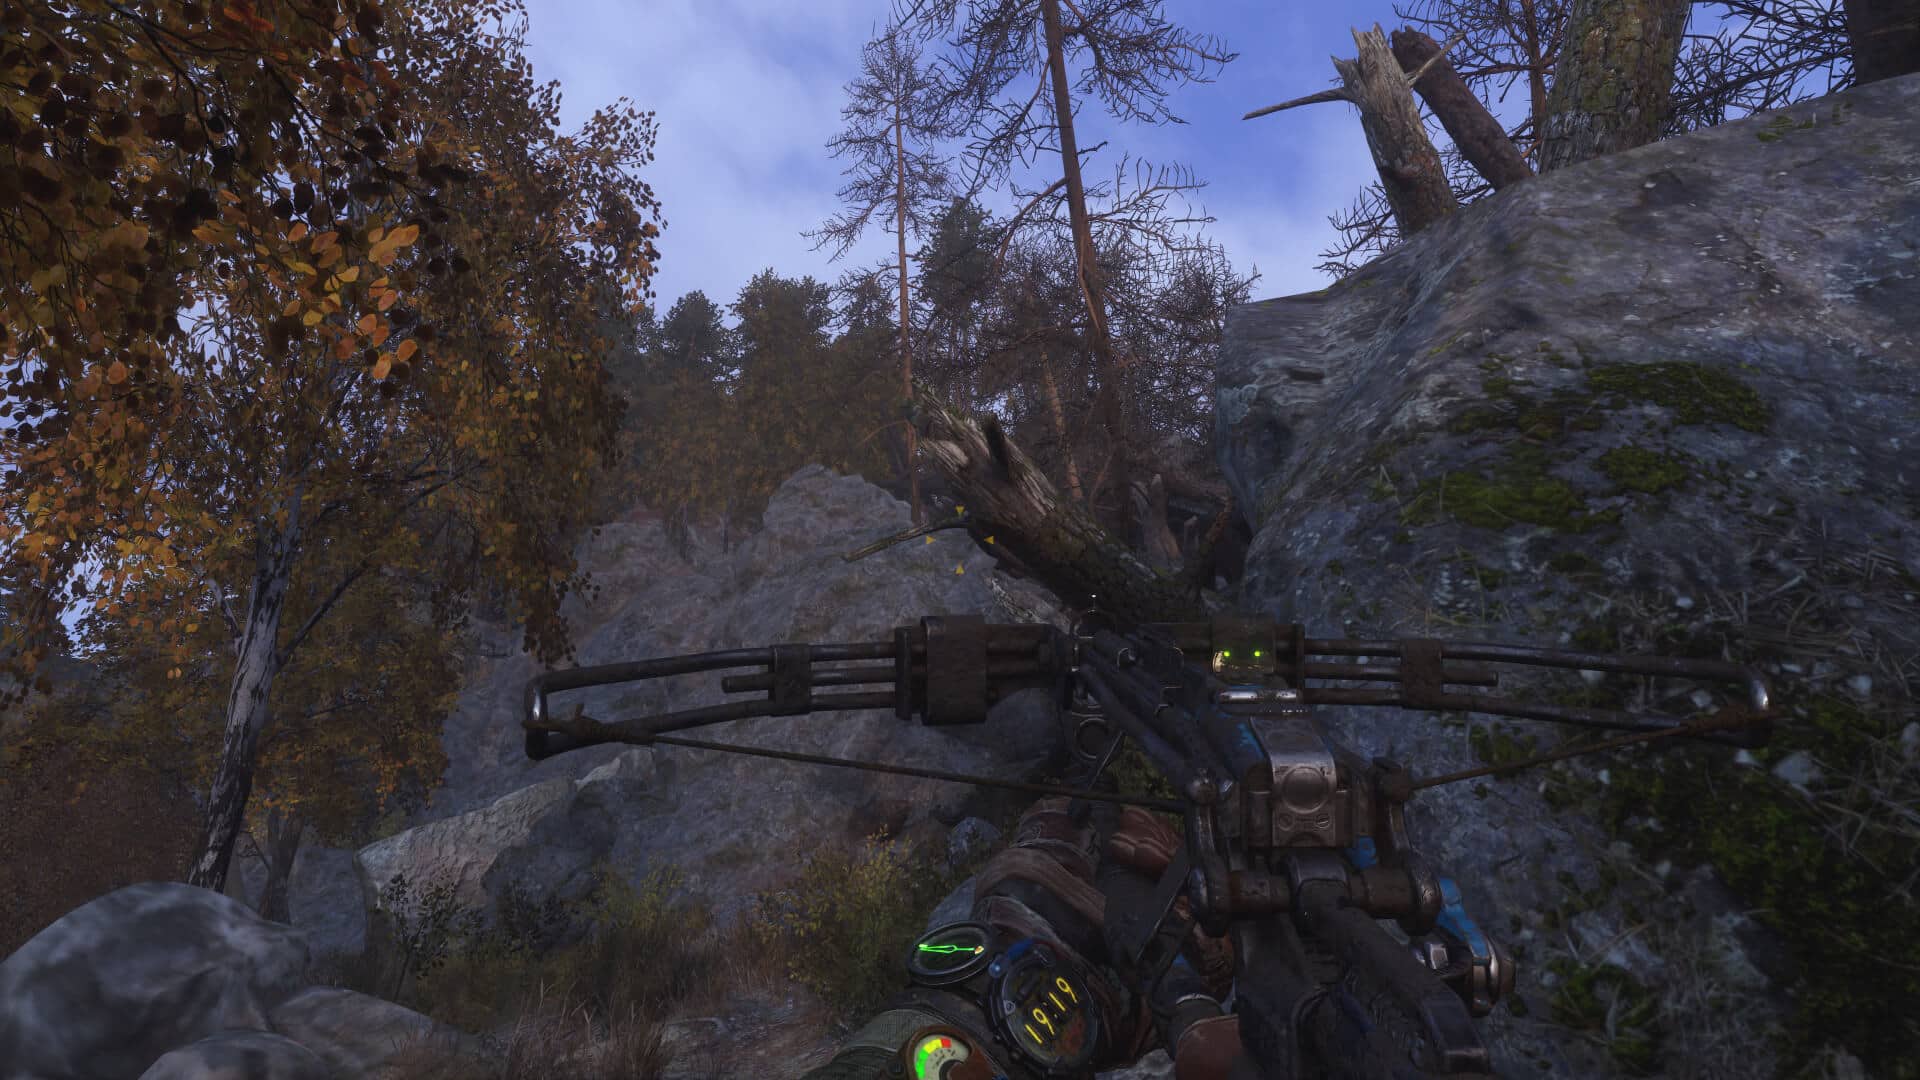
The hit to texture sharpness is still visible with DLSS quality, albeit less pronounced. It’s significantly more noticeable with the ultra-performance preset and moderately jarring with the DLSS-performance quality preset. Suffice to say, Balanced is really the most “Balanced” preset while Quality prioritizes…well, quality. You can find the uncompressed 4K shots at the end of the post.


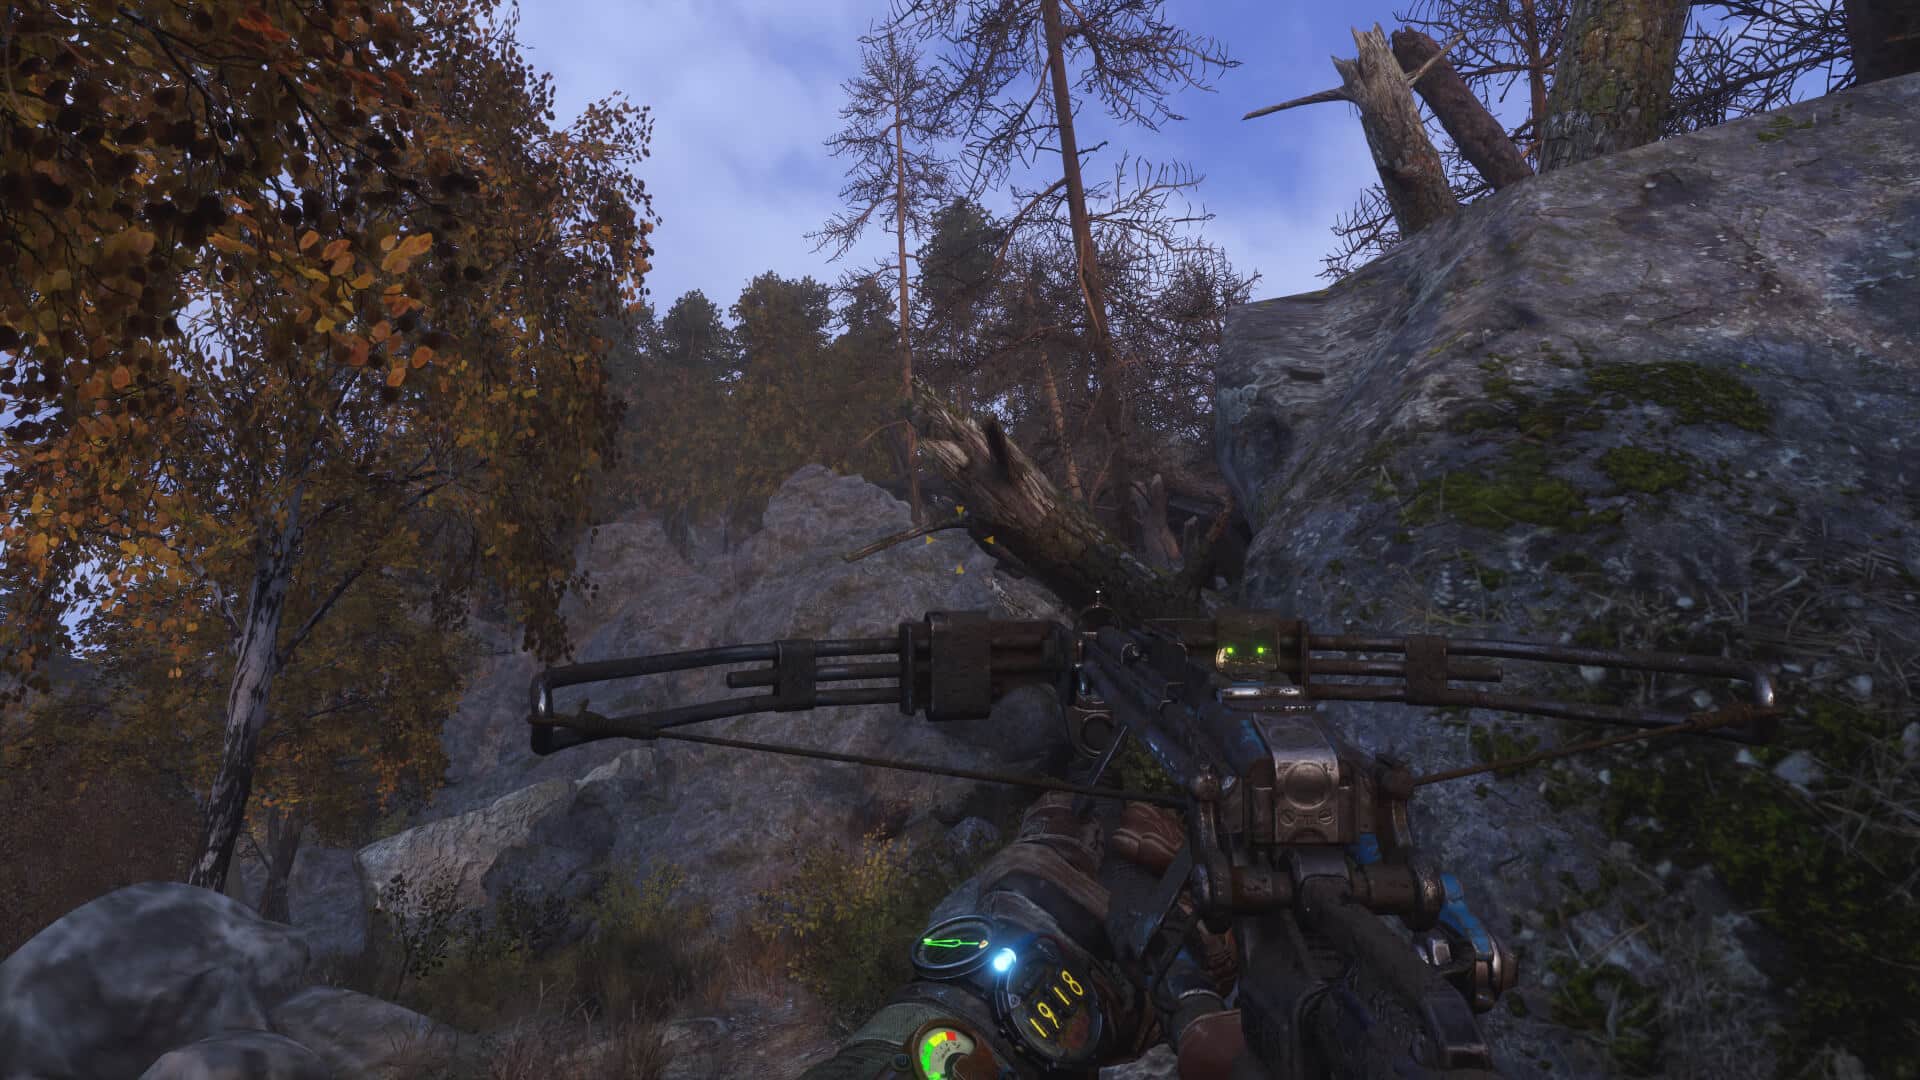
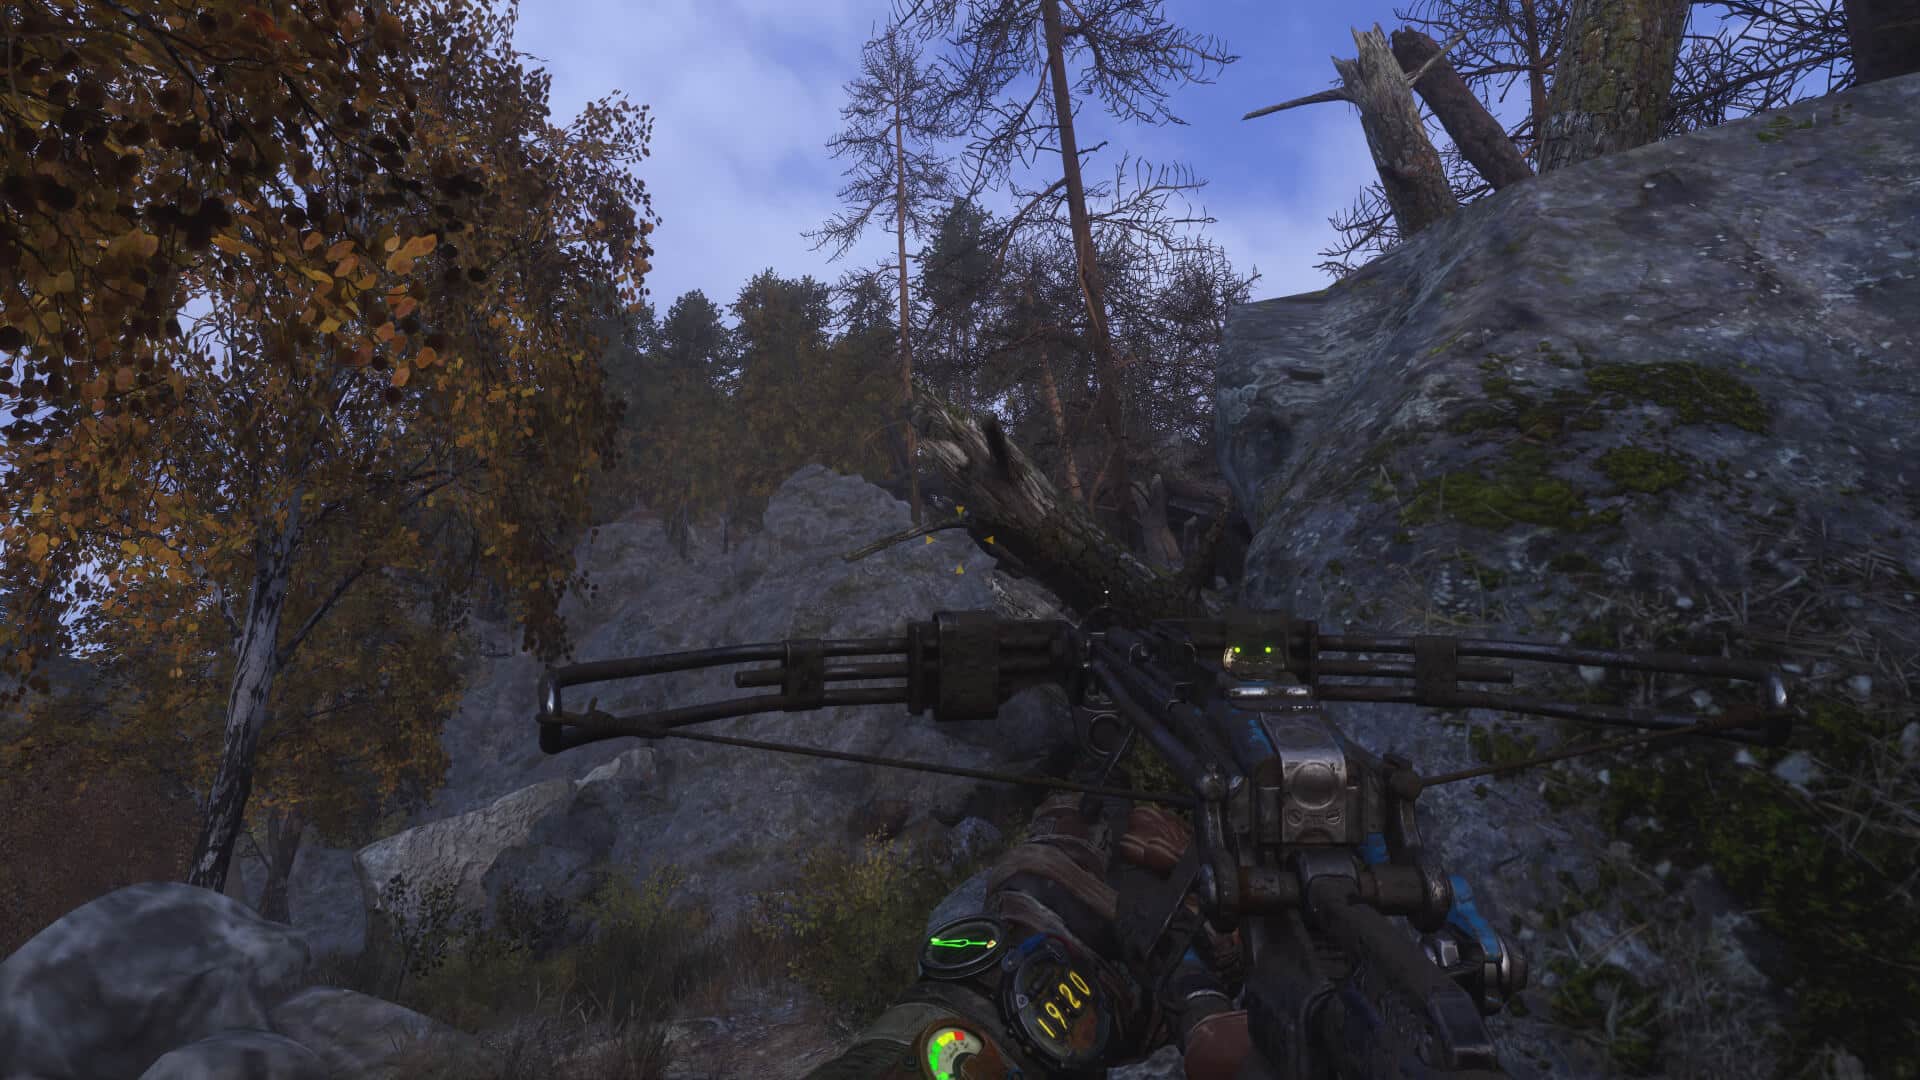
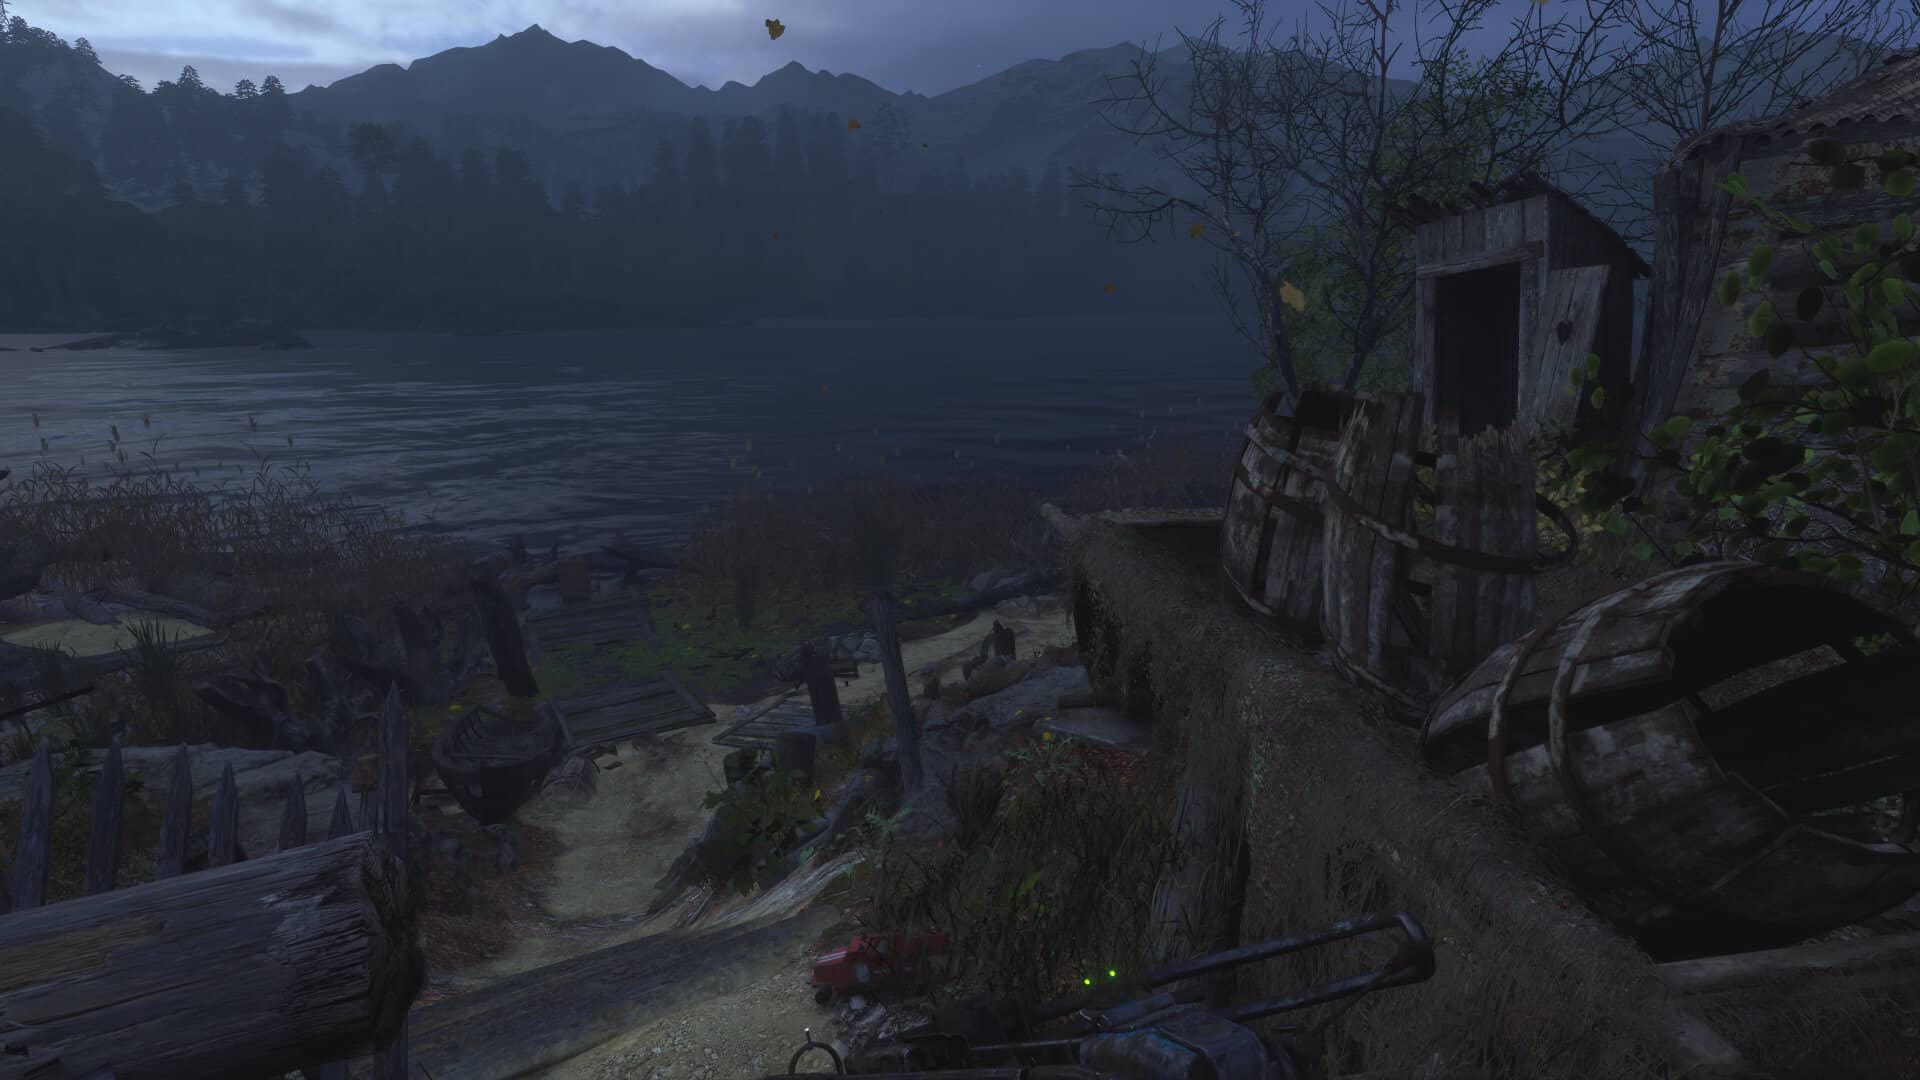
The same can be observed in the above comparisons. It seems that the upscaling network doesn’t scale the rock textures well. Although the quality preset does pretty well, there is still a visible drop in detail, with the performance and ultra-performance presets seeing a rather sizable drop in quality with just about every texture, most notably the wooden path in the distance, in addition to the mountain/rock textures.
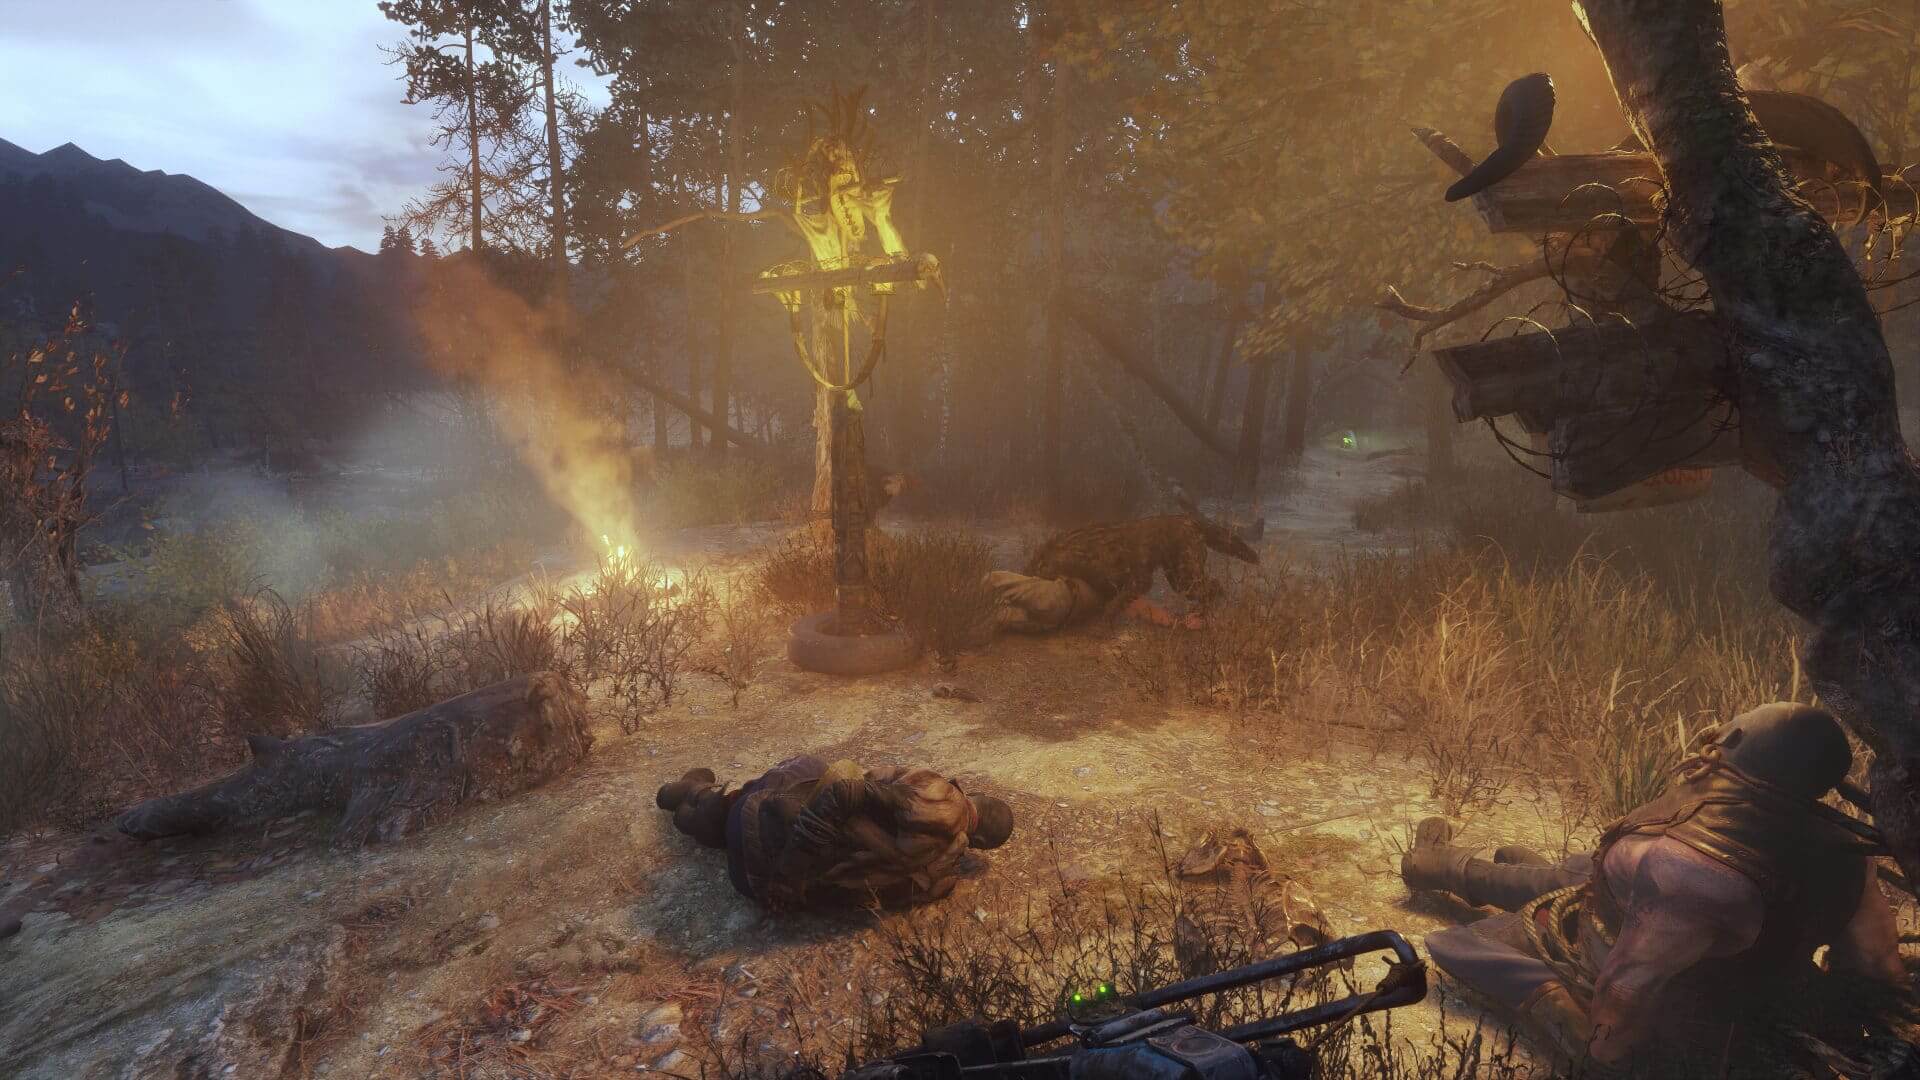
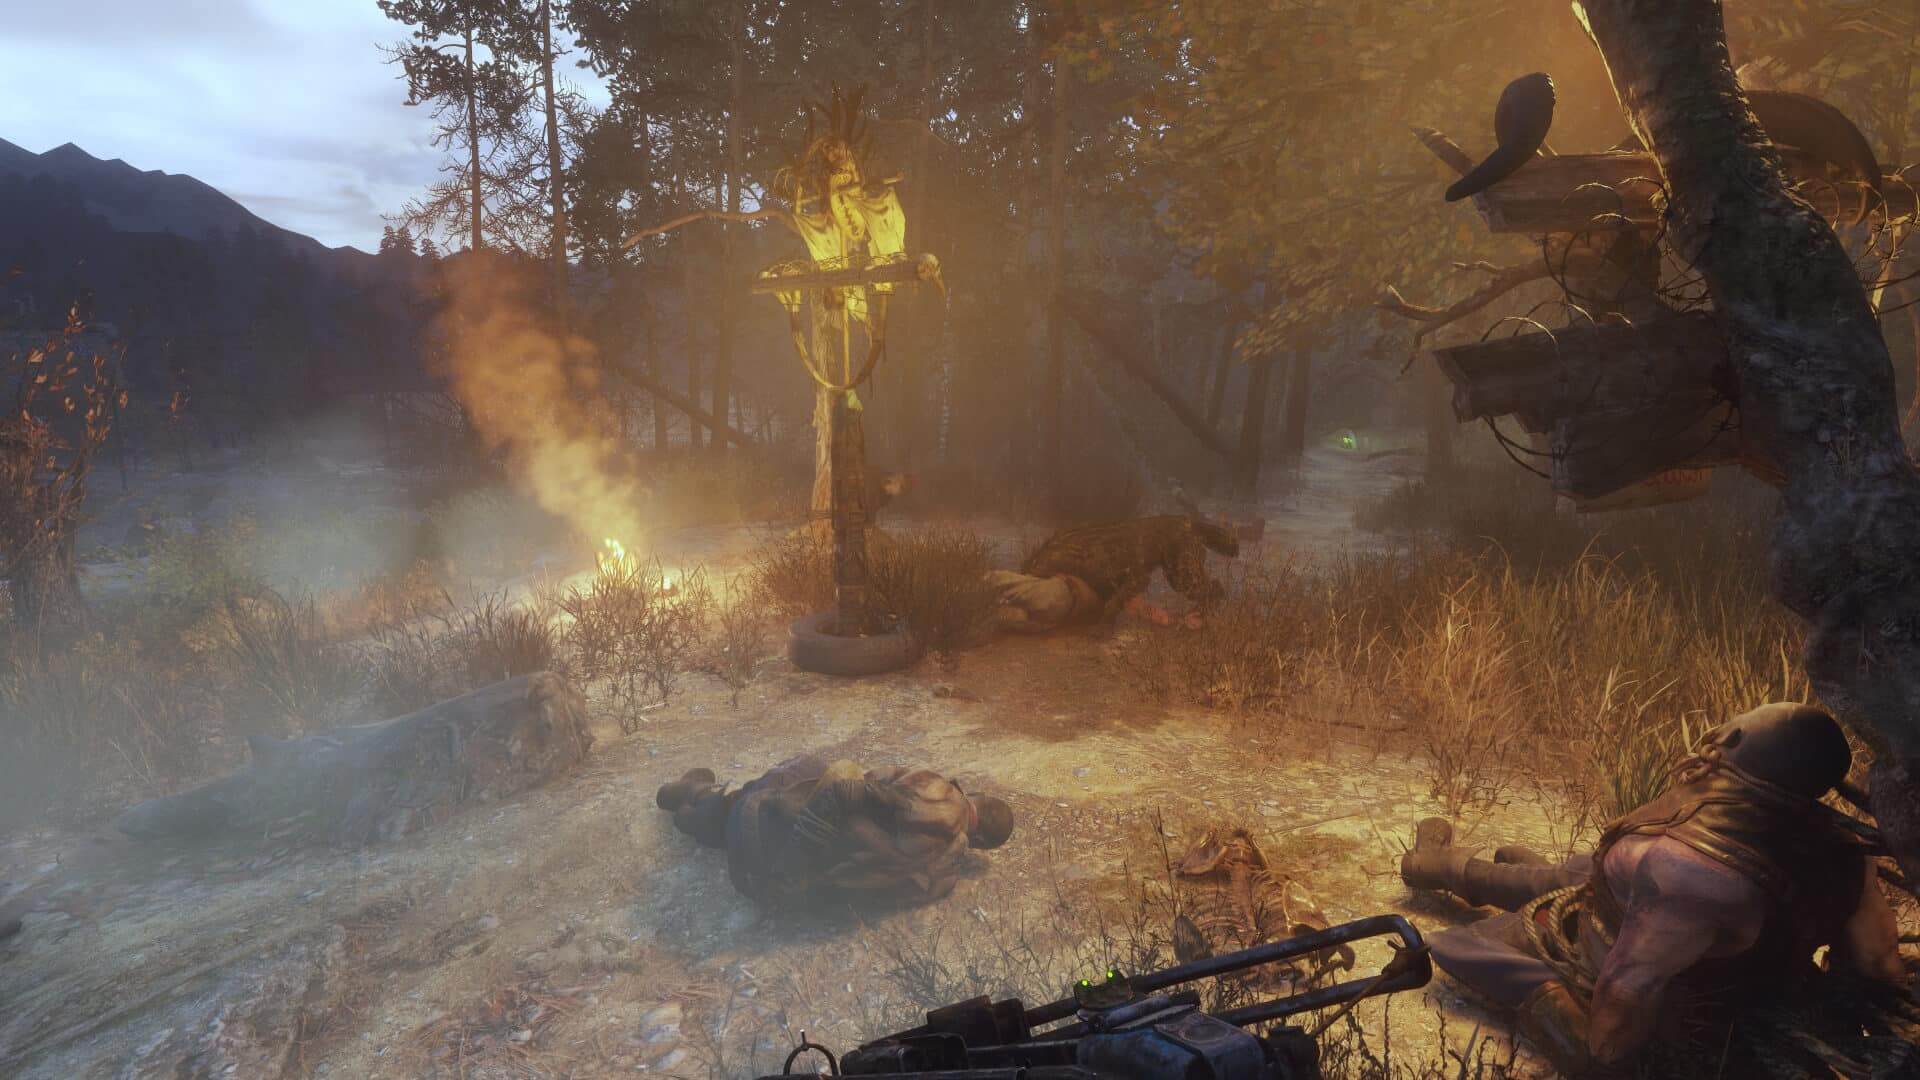
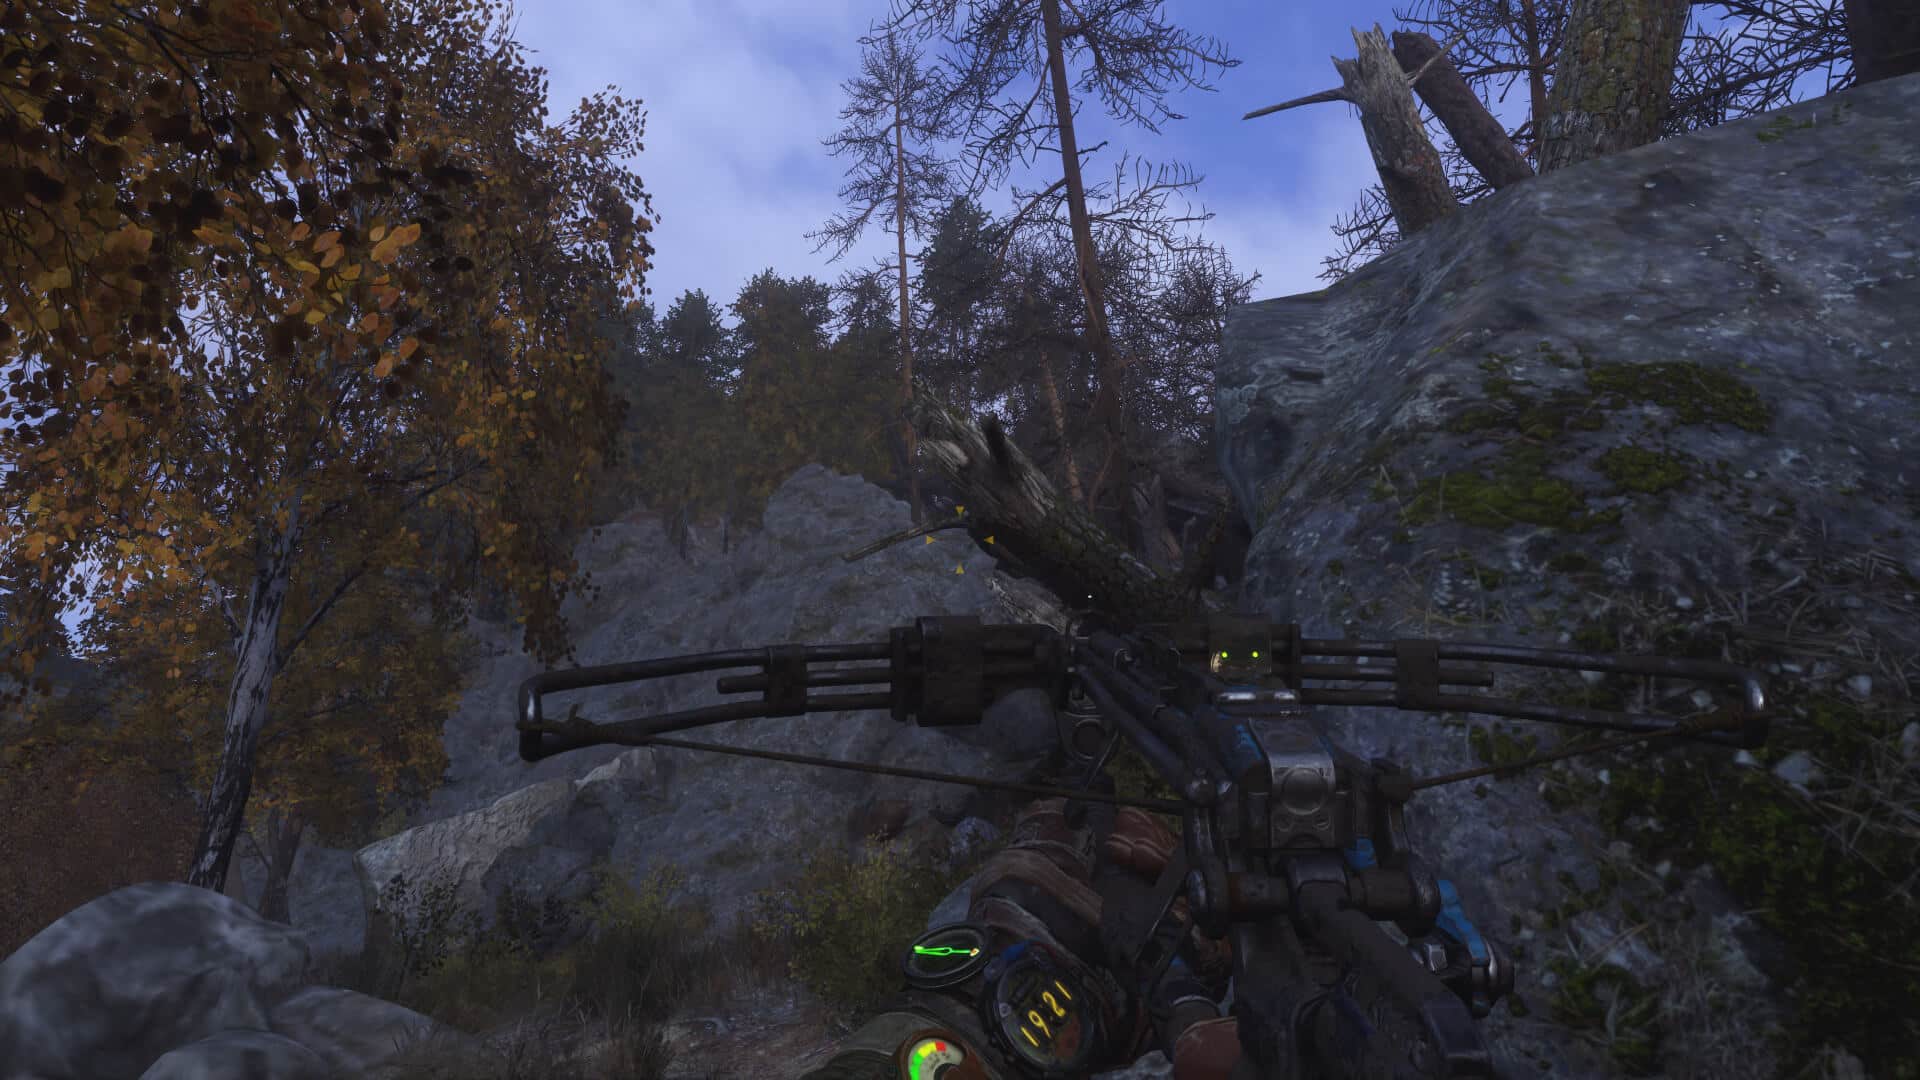
The gradual loss in quality isn’t limited to rock textures and can be seen throughout most of the detailed meshes in the world. With that said, the quality preset does come very close to native, with balanced being a notch below. The performance and high-performance preset are, however, not advisable unless you’re unable to hit playable frame rates. Here’s another comparison with different lighting to further highlight the differences:
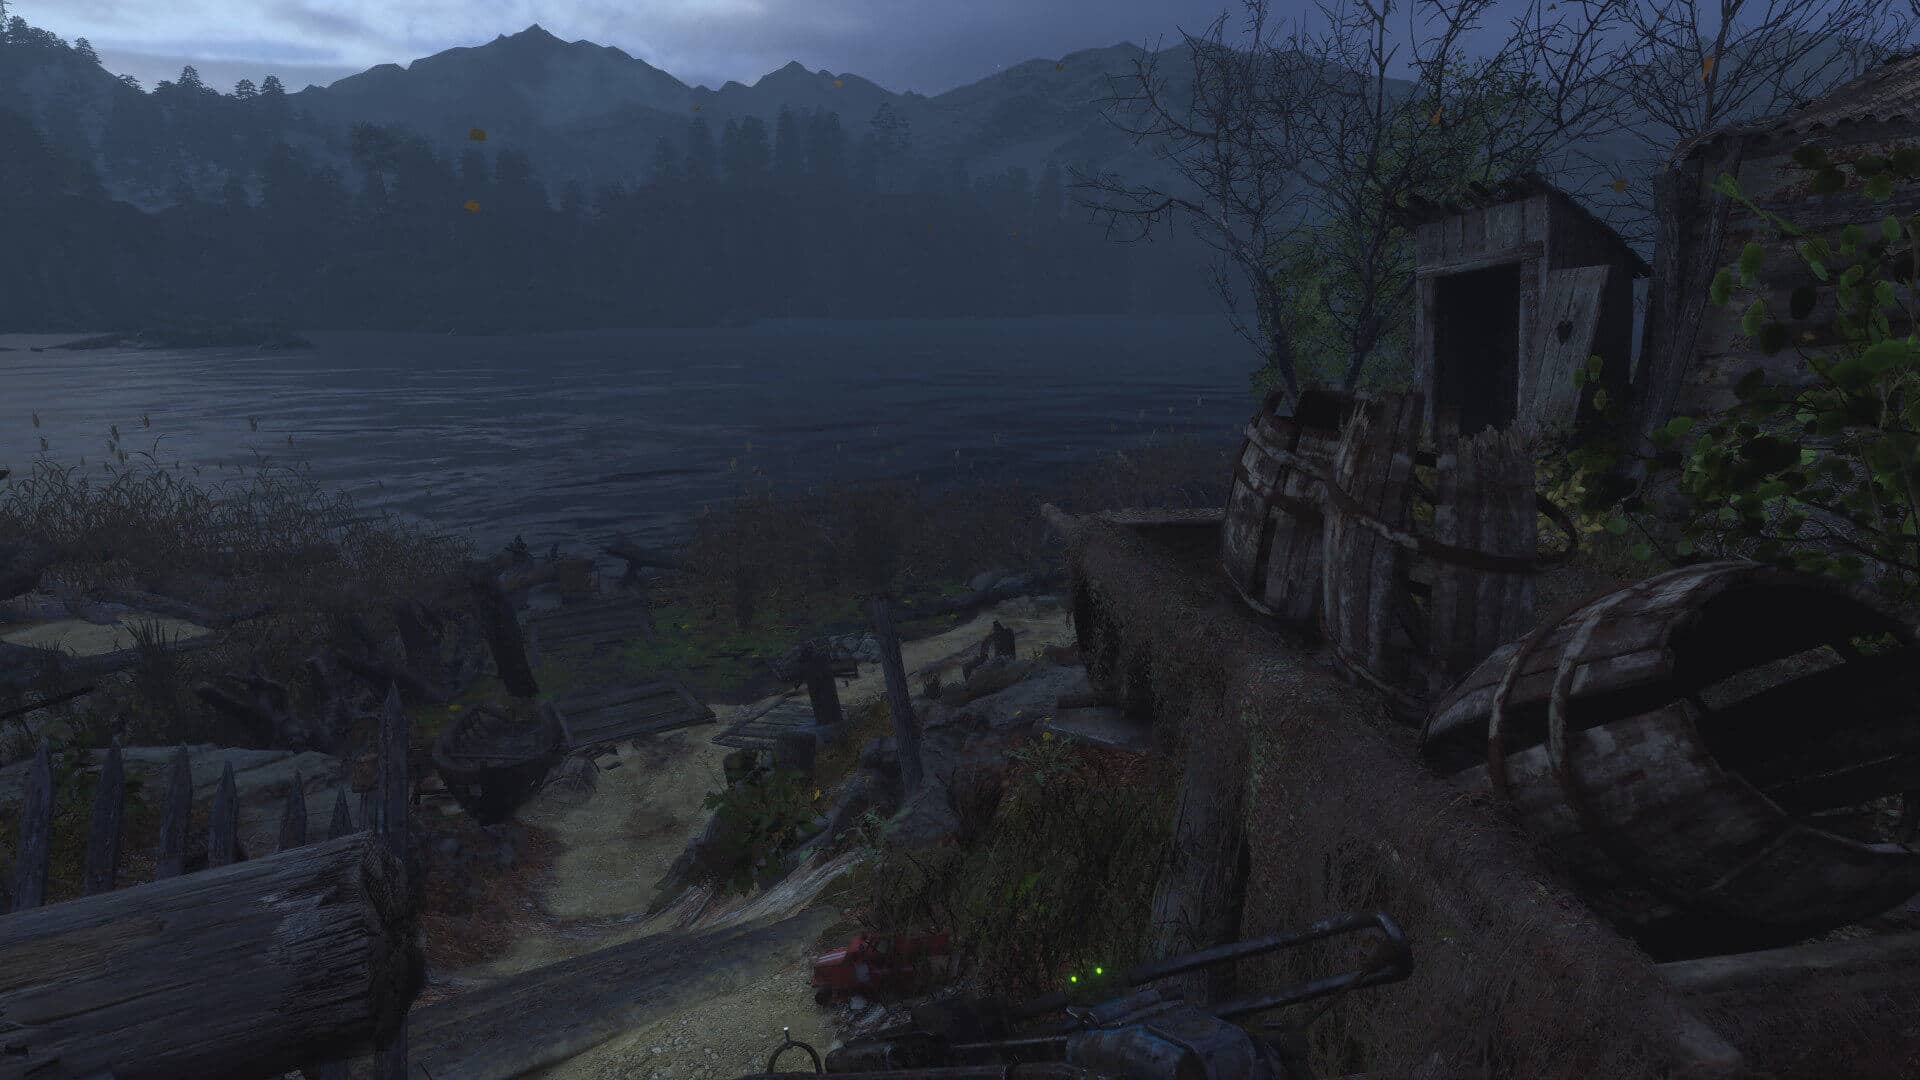
In the above scene, the difference is really hard to notice, but if you look closely the DLSS side loses a bit of detail on the wooden and ground textures. For the average individual, the two can, however, be passed as being identical. In case you’re interested in the performance benefit conferred by the different DLSS presets, move onto the next page.
DLSS 2.1 Performance: Quality vs Balanced vs Performance vs Ultra Performance
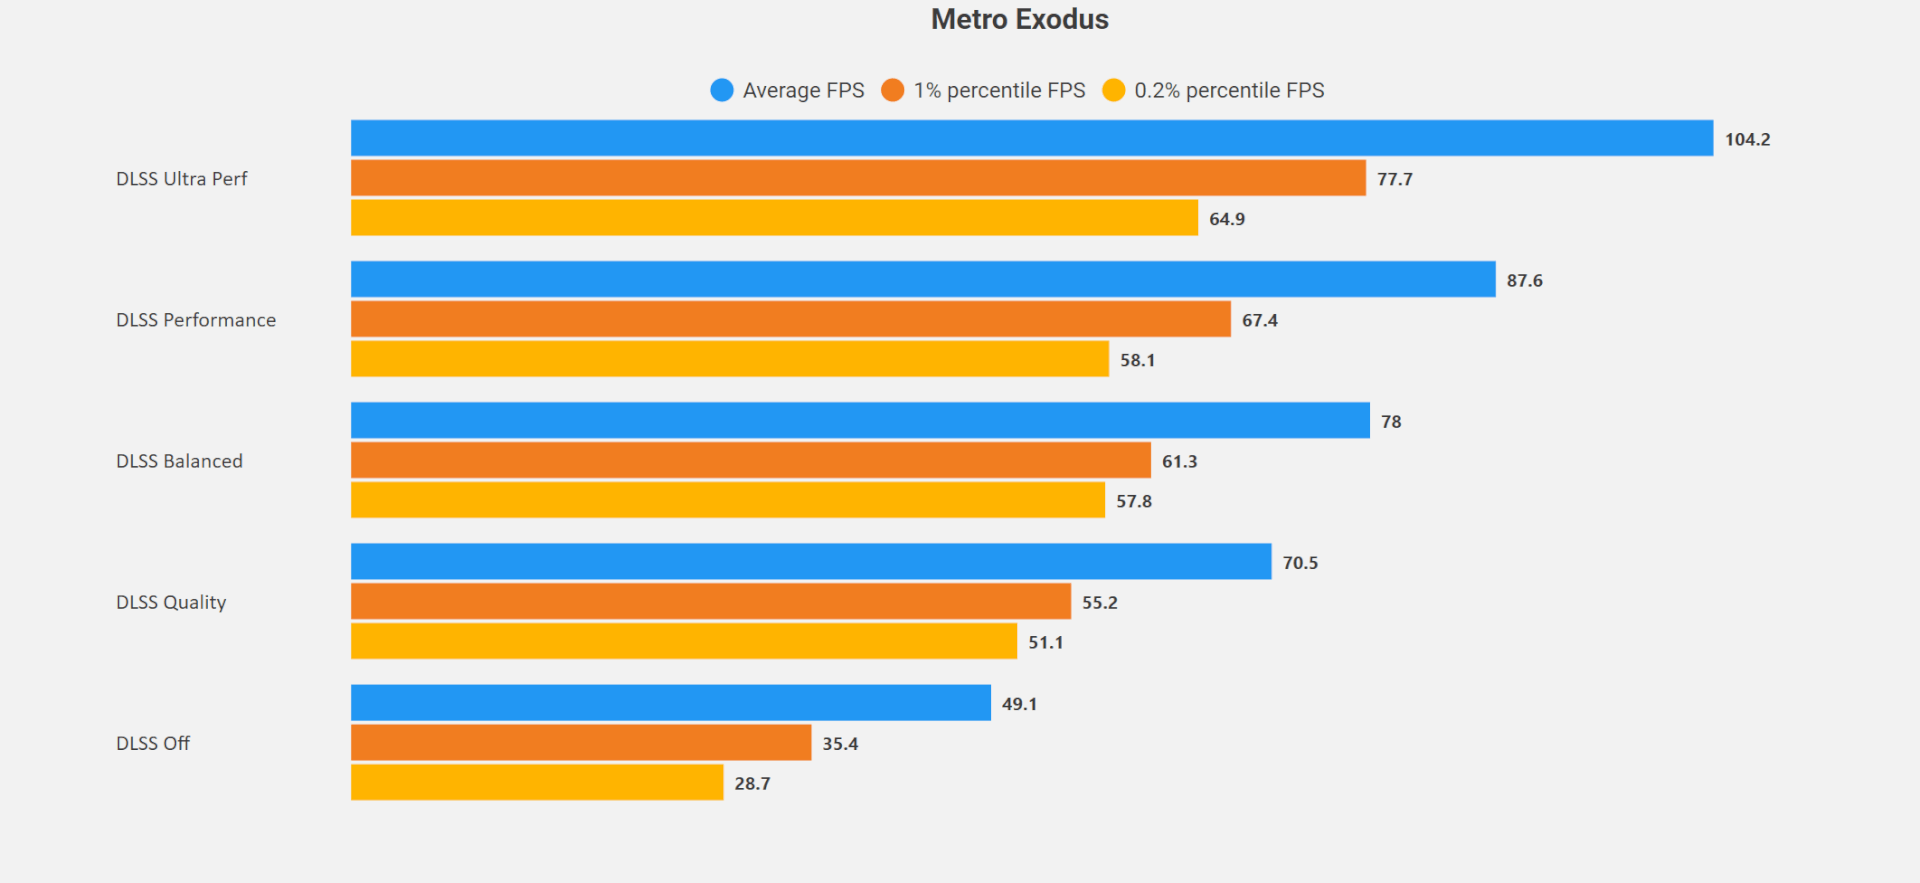
Despite looking nearly the same as native, the DLSS Quality preset confers a healthy performance boost of roughly 50%, with Balanced extending it to 60%. Going further lower to the performance preset grants you a rather considerable performance increase of 80% over native with a small but noticeable drop in quality. Finally, the ultra quality preset increases performance by 2.2x, but the drop in quality is fairly substantial and as such, we’d recommend against it.
Overall, DLSS is pretty much essential at this point with ray-traced titles. The quality preset manages to come very close to the ground truth, almost. There are still some discrepancies in certain textures, and it’ll take a while before we can see with certainty that it’s on par with the native input resolution. For reference (at 4K), DLSS quality takes 1440p as the input image and upscales it to 4K, the balanced preset takes in 1200p, performance upscales 1080p images and finally, ultra-performance takes in 720p as the source resolution.
Variable Rate Shading Comparisons
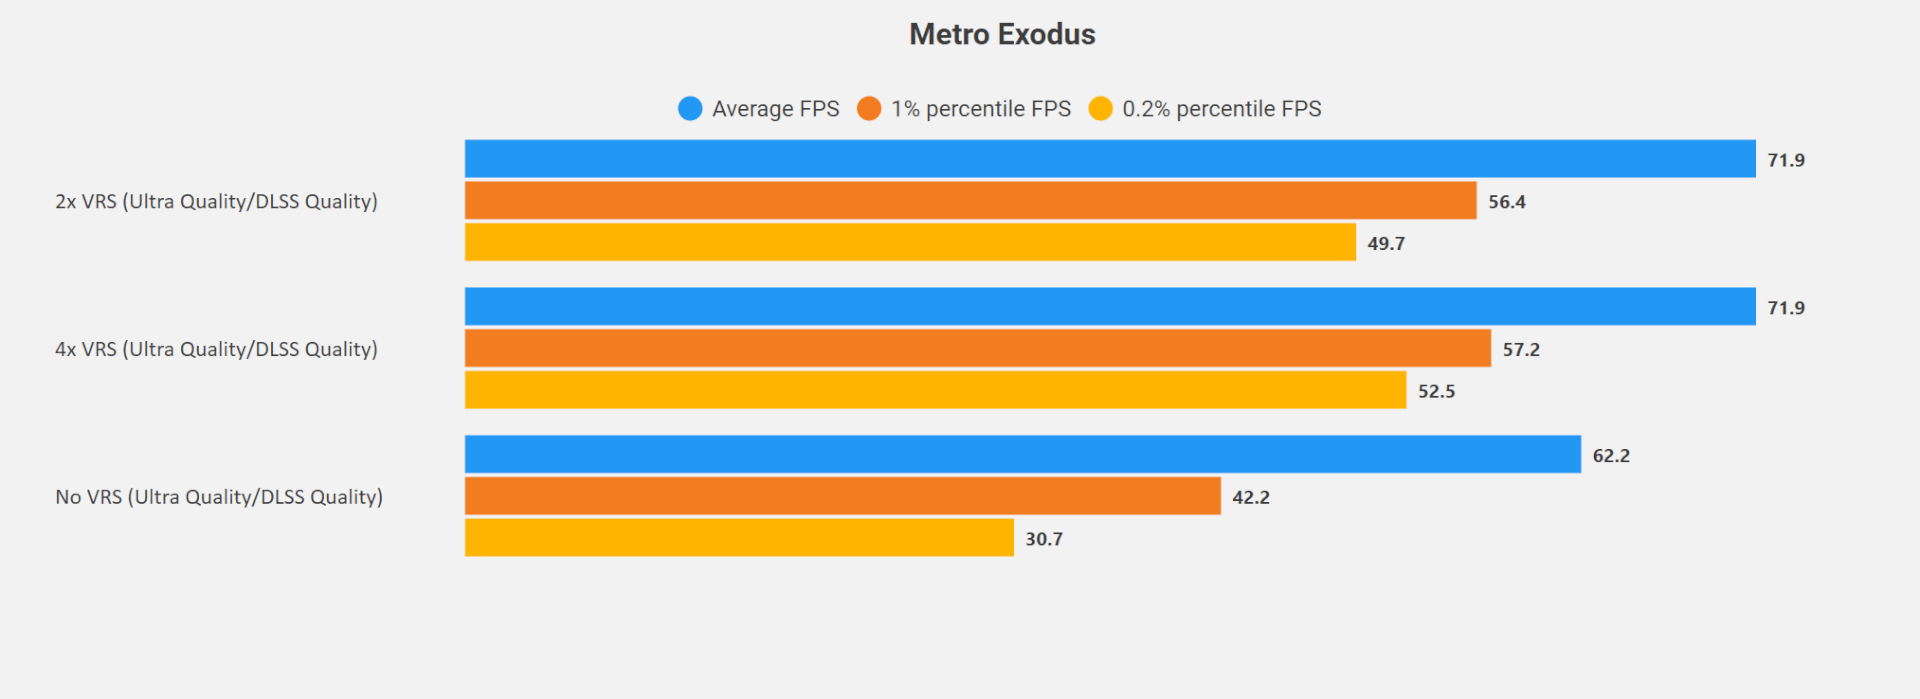
With VRS, there’s almost no noticeable drop in quality, although the performance uplift too, is relatively marginal. Metro Exodus EE offers 2x and 4x VRS modes. I’m not sure whether these represent the two tiers of VRS or the amount by which shading is reduced in certain areas of the screen. Either way, tier 2 allows for reduced sampling with more precision and can be fine-tuned, allowing more control over when and what can be it be applied to.
Even when using 4x VRS, there’s pretty much little to no loss in quality as you can see from the above and below screenshot. The only differences that can be noticed in certain scenes are with respect to ambient shadows, and these too, can’t be observed unless you are doing a side-by-side comparison.
You gain a decent 15-20% additional performance upon going from no VRS to 2x VRS. However, switching to 4x doesn’t do much, and only the lows see a small improvement. As such, we recommend using the 2x mode.
For 4K VRS comparisons and additional shots, click here.
Ray-Tracing Quality Comparisons
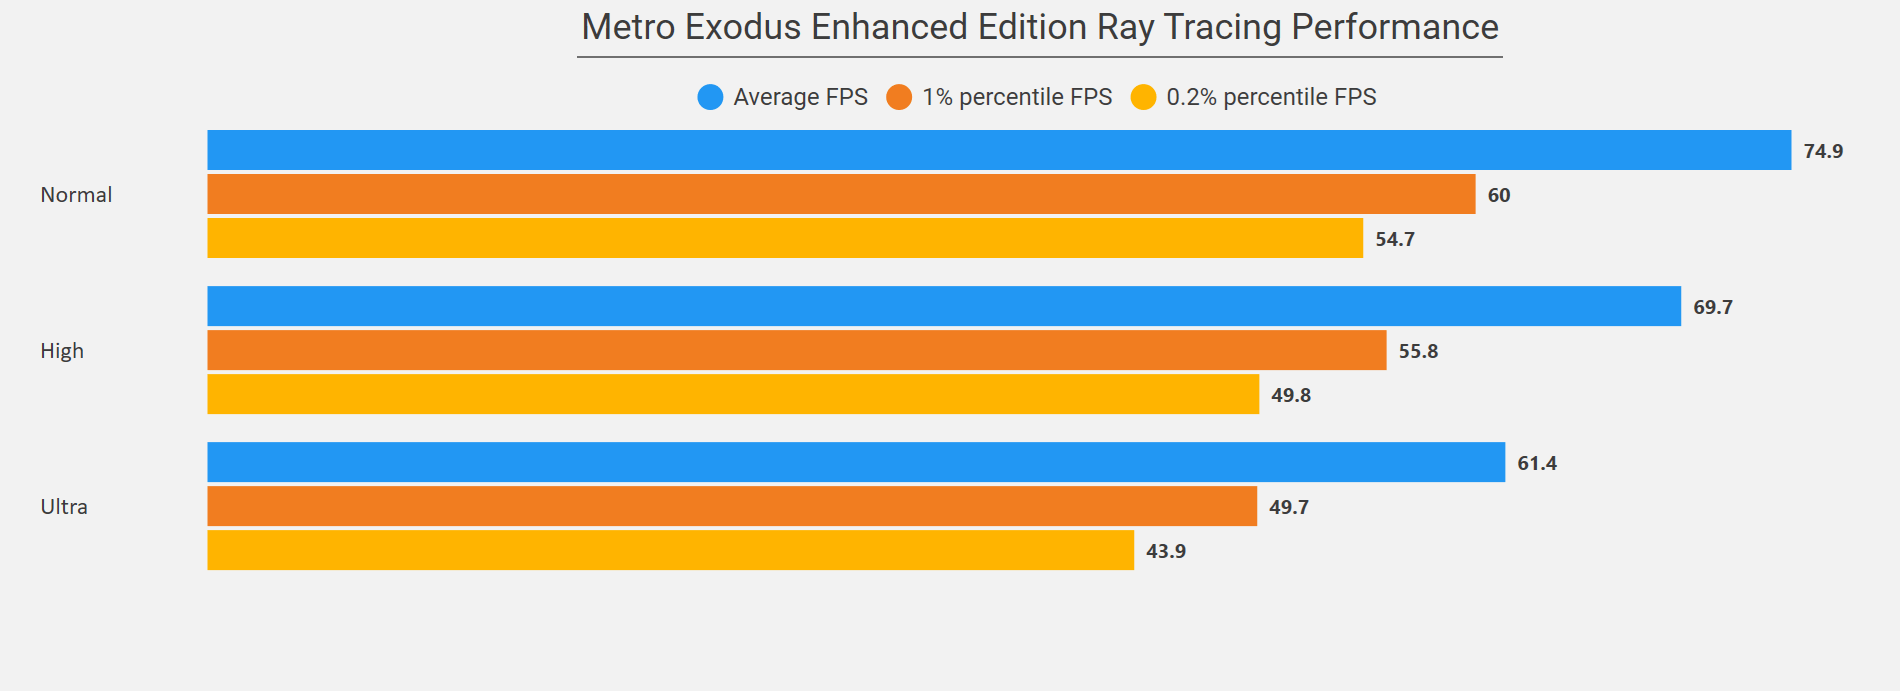
With that out of the way, here’s a look at the different ray-tracing quality presets, and their respective impact on the performance. In case you weren’t aware, the Enhanced Edition doesn’t allow you to turn off ray-tracing, so for plain raster comparisons, you’ll have to switch to the vanilla game. In terms of the available ray-tracing presets, you get Normal, High, and Ultra. There’s a pretty sizable difference between the three in terms of performance, but the impact on lighting is fairly subtle especially in exteriors. It mainly controls the number of rays cast, and you’ll essentially see brighter interiors, thanks to repeated reflection (diffuse lighting) at the ultra preset:
Continue to next page for additional comparisons and performance benchmarks…
If you have a GeForce RTX 30 series card, you should be easily able to run the game at 60 FPS using DLSS Quality even at Ultra ray-tracing quality. However, for owners of older RTX 20 series parts, I’d suggest the “Normal” or “High” quality preset as there’s not much difference in terms of visual fidelity.
The differences in exteriors are very minute and can be observed primarily in shaded areas such as the forest and around man-made structures. In terms of performance, going from normal to high costs you just 5-6 frames, but the ultra preset is quite taxing reducing the performance by more than 20%. However, all three presets are pretty stable and there aren’t any unexpected drops even at the highest quality.
For uncompressed 4K comparisons, click here.
 AMD Radeon RX 8900 XTX Specs: 13000+ Cores for the Cancelled RDNA 4 Flagship
 NVIDIA RTX 4080 vs 4080 Super vs 4090: 34 Benchmark Comparisons
 Sapphire Pulse Radeon RX 7900 GRE Review: AMD’s Best in Action
 Intel Graphics Driver Boosts Performance by up to 48% on Meteor Lake Processors